User Skills Course Access Guide
Entering the Course
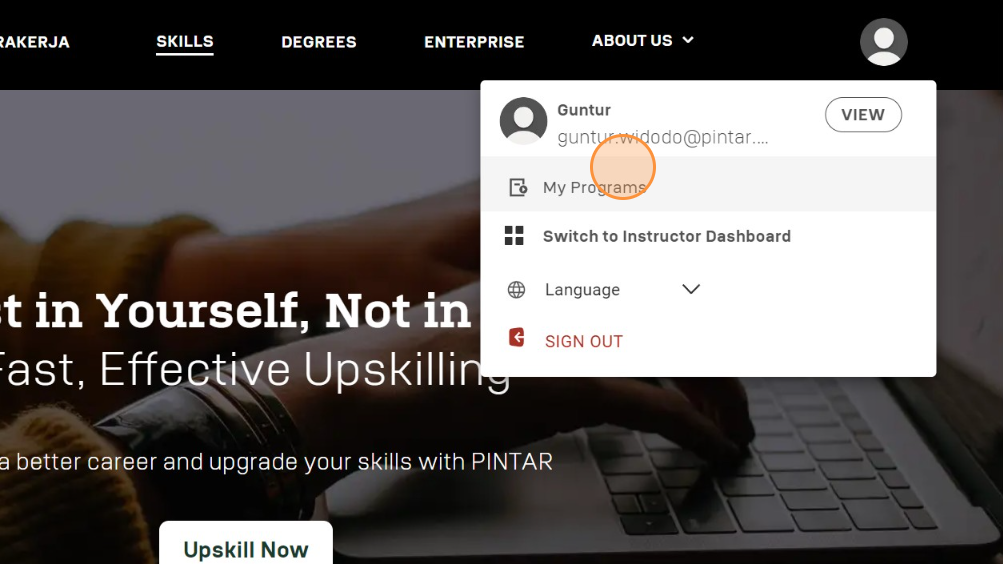
After logging in to skills.pintar.co, click on the profile to go to the program you are enrolling in.
Click "My Programs" to see the programs you are enrolling in.
After entering "My Programs", select the Skills product option.
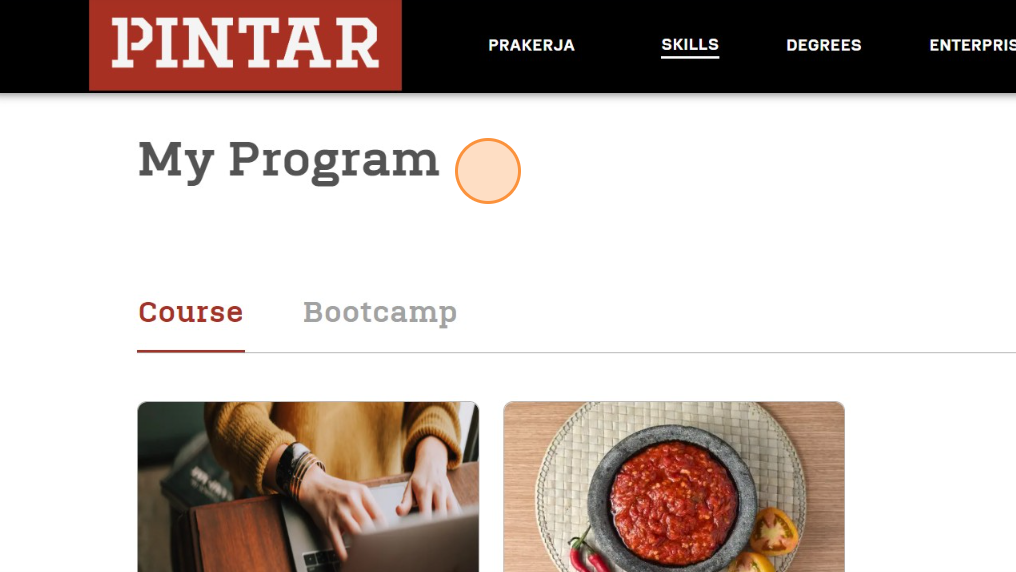
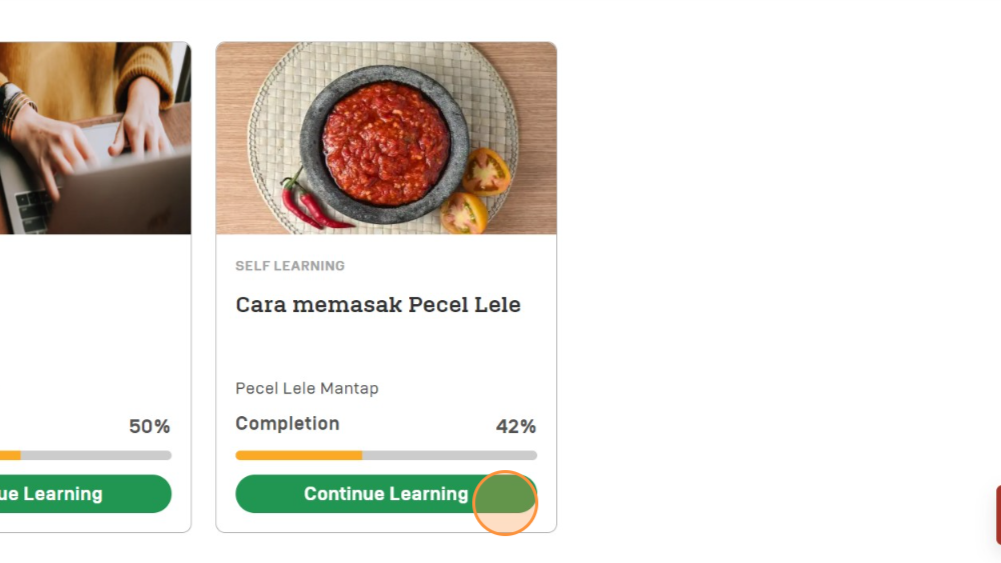
After selecting a product, ensure the course you want to take is in the My Programs section.
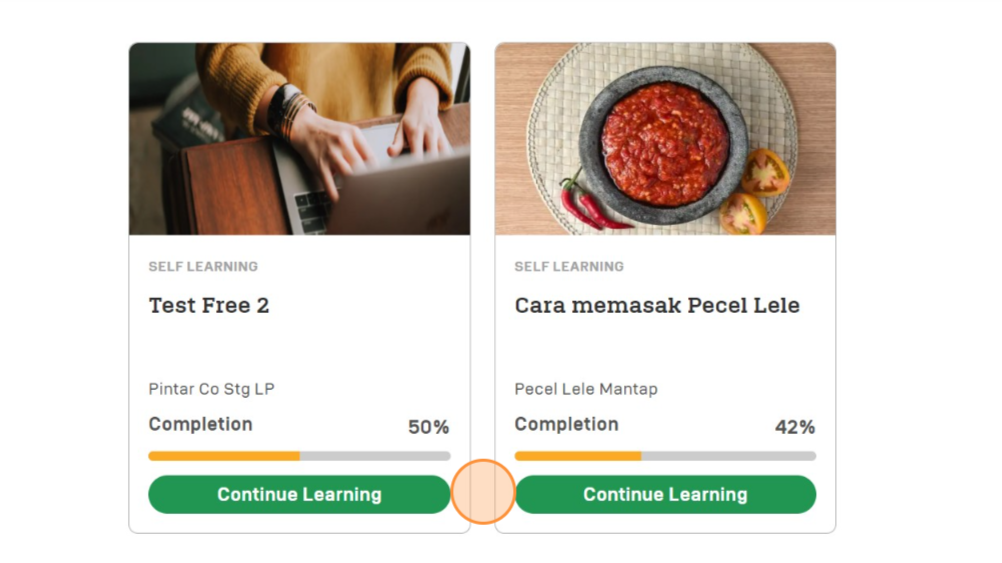
Click "Continue Learning" to enter the course you want to take.
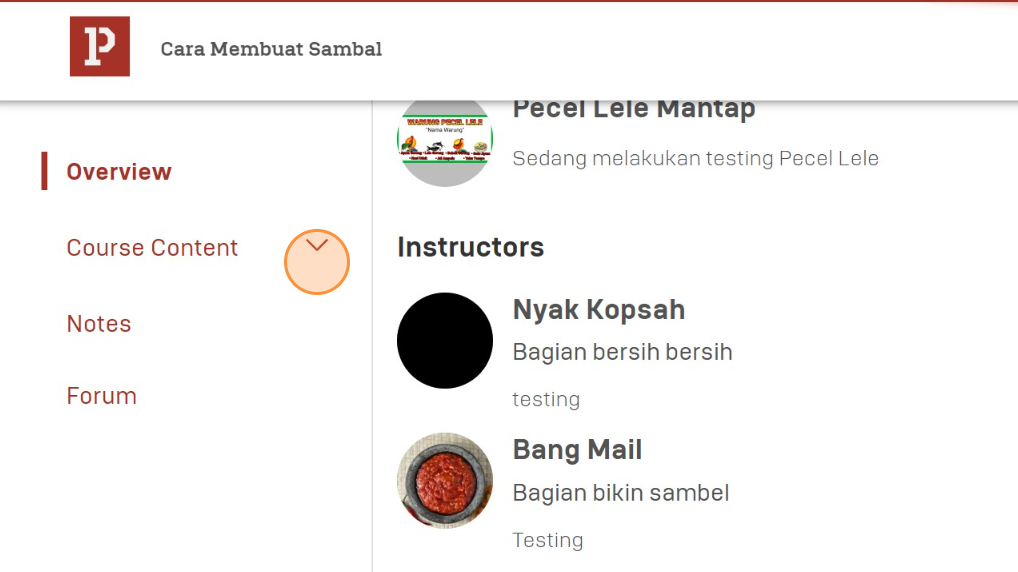
Understanding the Course (Overview)
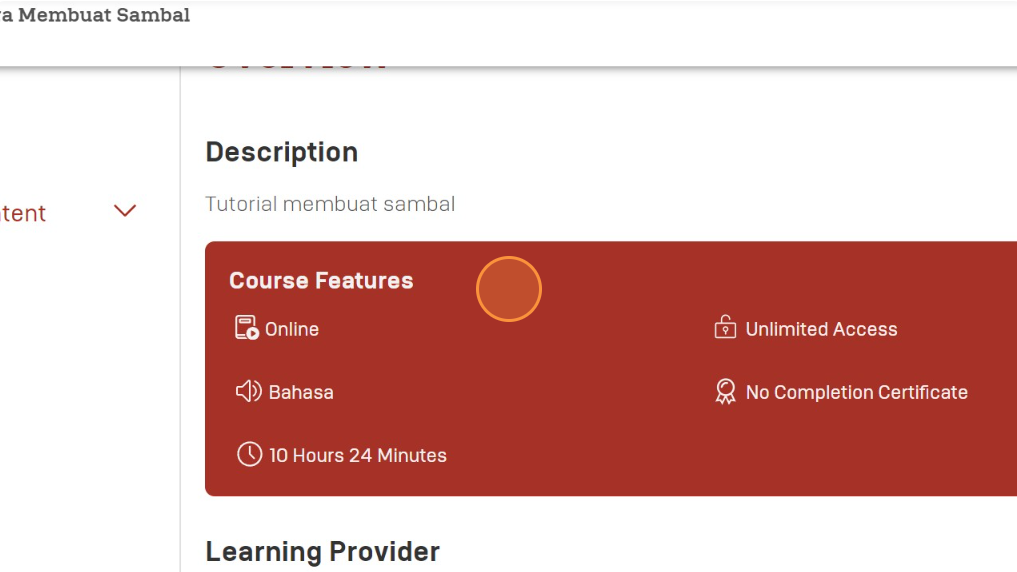
See "Overview" to find out detailed information about the course you are taking.

See "Description" for a description of the course you are taking.
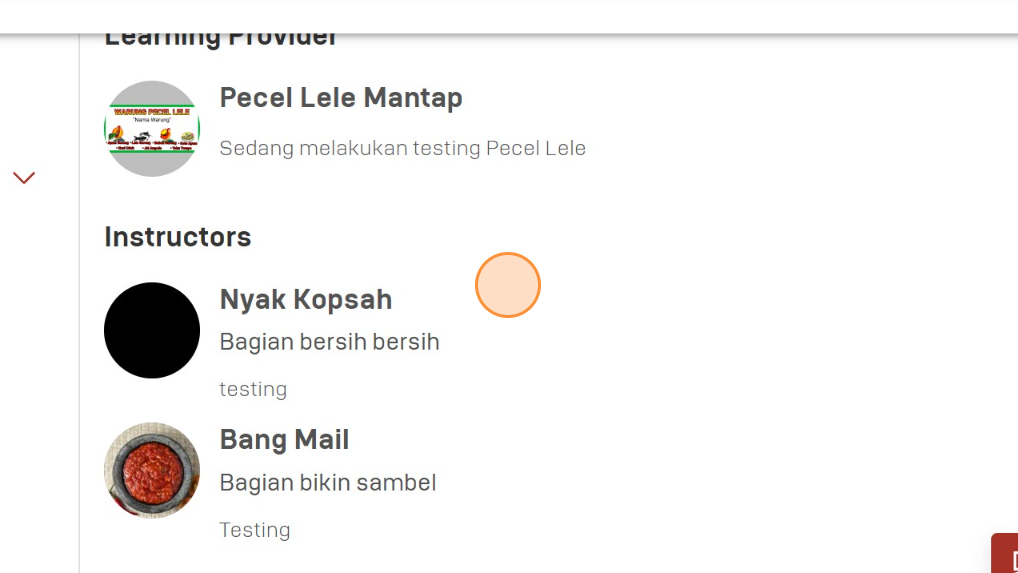
See "Learning Provider" for details on the learning provider for your course.
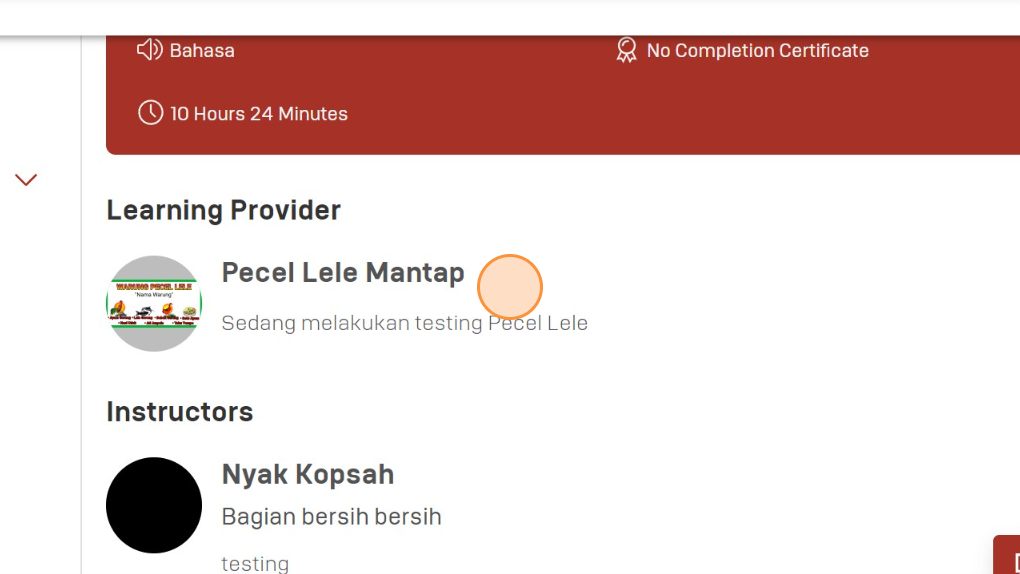
See "Instructors" for information on the instructors teaching your course.
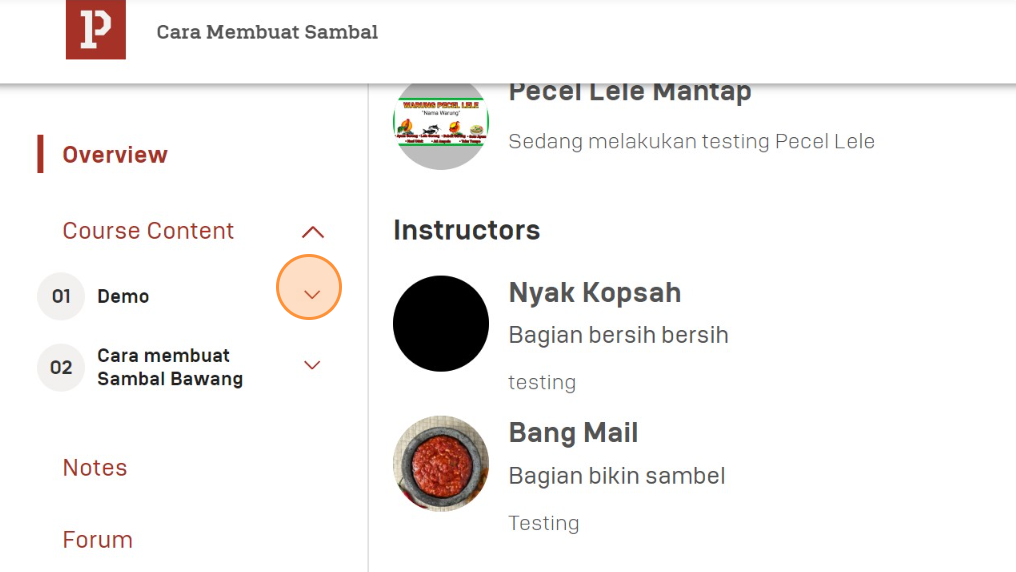
Understanding the Course (Course Content)
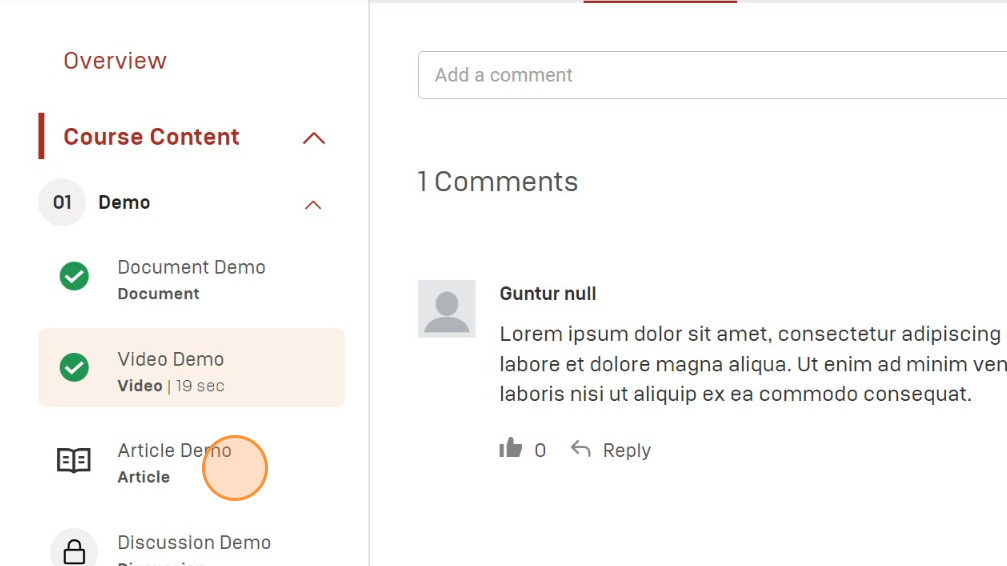
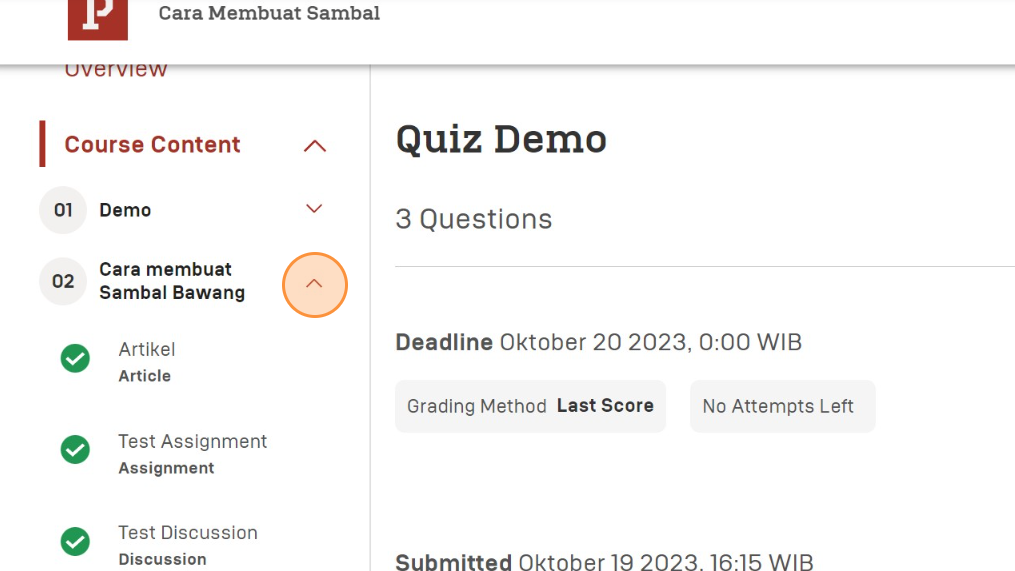
Click "Course Content" to find out the content you want to take in your course.
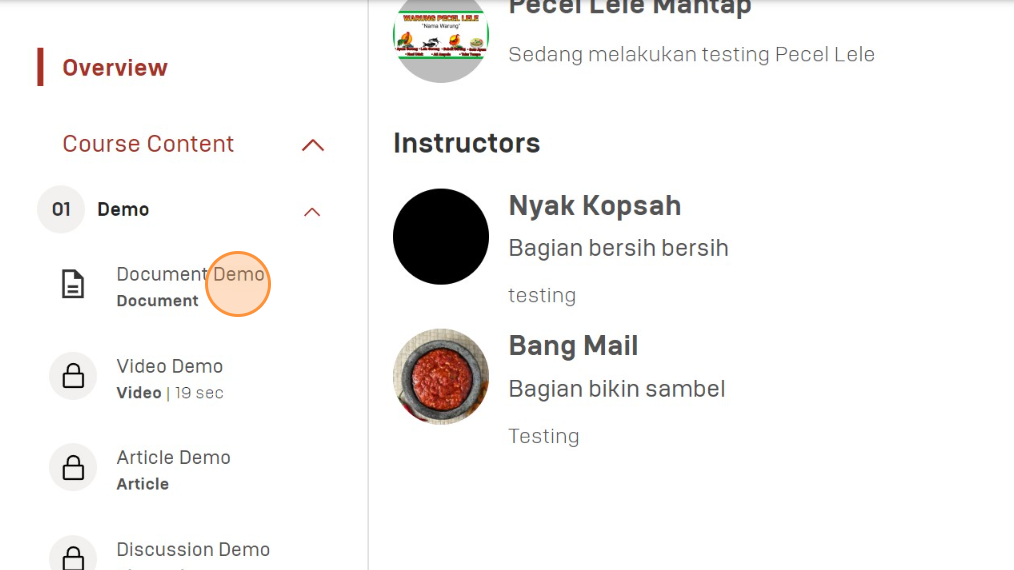
Click "Demo" to see an example of the content in the course. In Skills, sub-content are available as Documents, Videos, Articles, Discussions, Assignments, Live Sessions, and Quizzes.
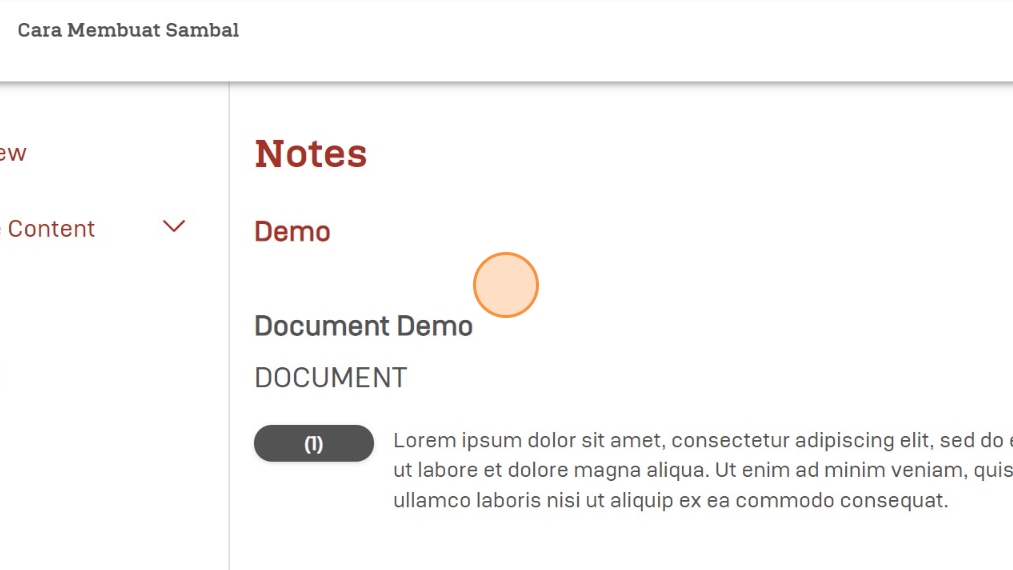
Understanding the Course (Document Subcontent)
Click "Document Demo" to see an example of a document subcontent.
Click "View full screen" to see the document in full screen view.
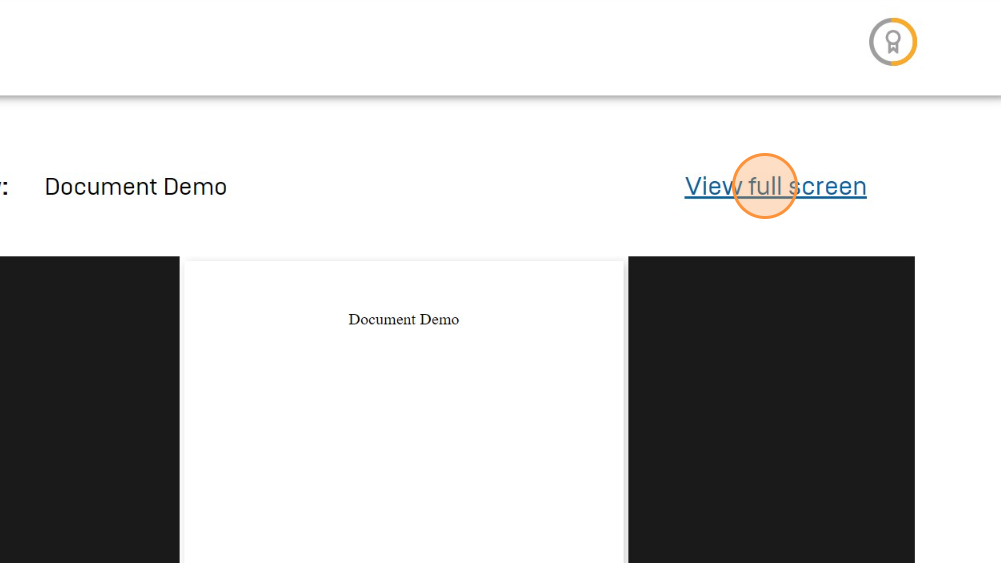
Click the "<" icon to exit the full screen view of the document.

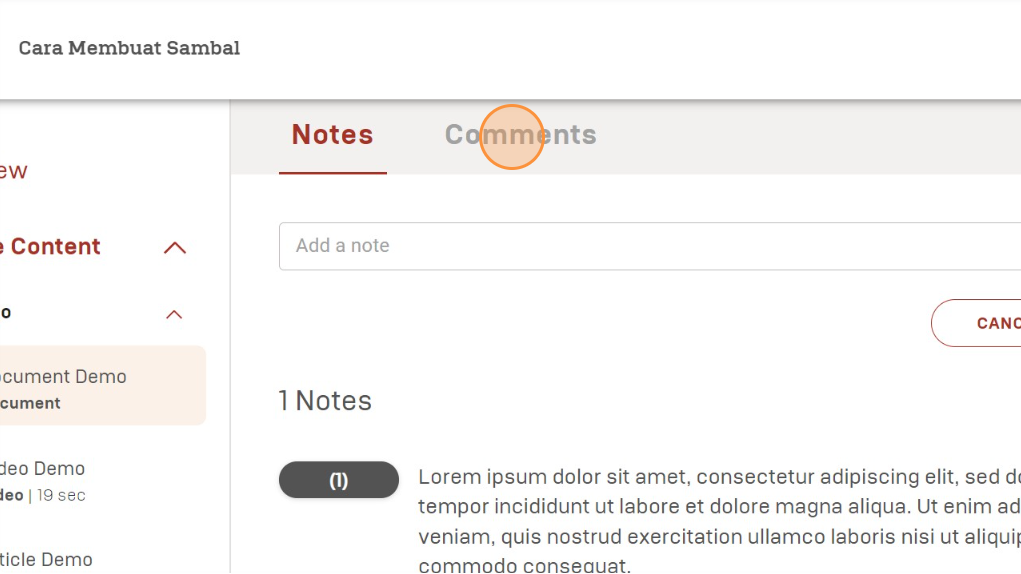
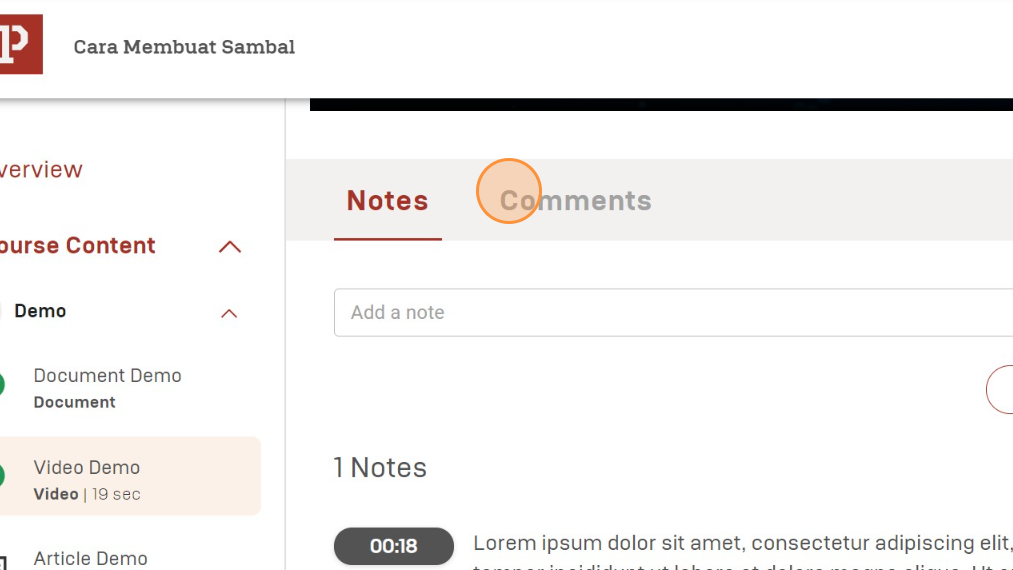
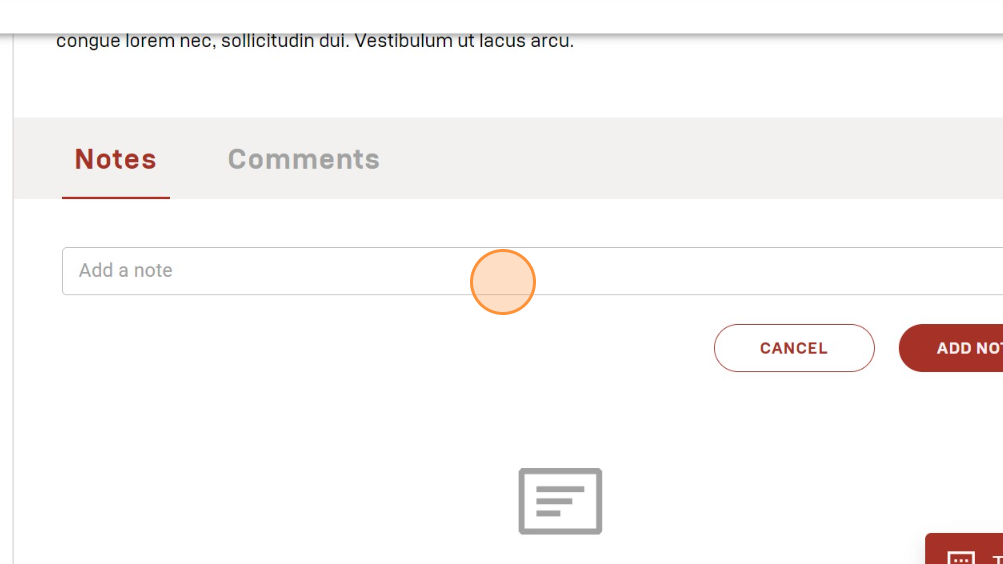
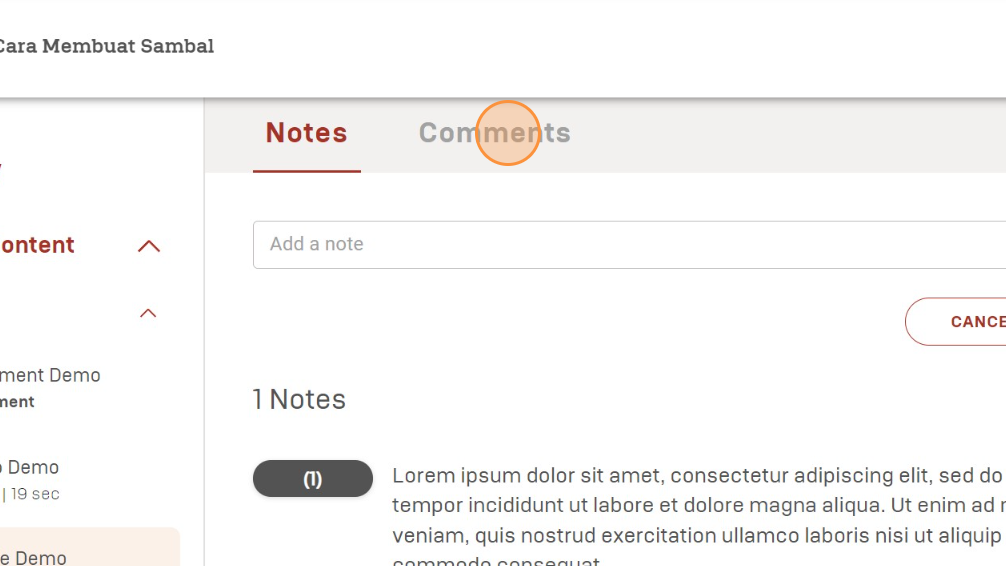
Click "Notes" to add notes. The results of the notes can only be seen by the user.
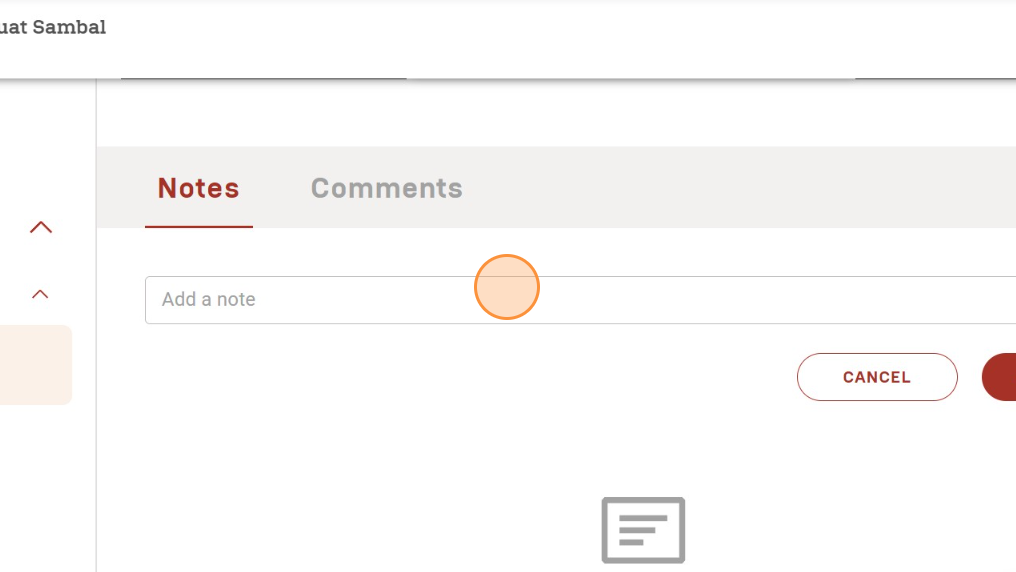
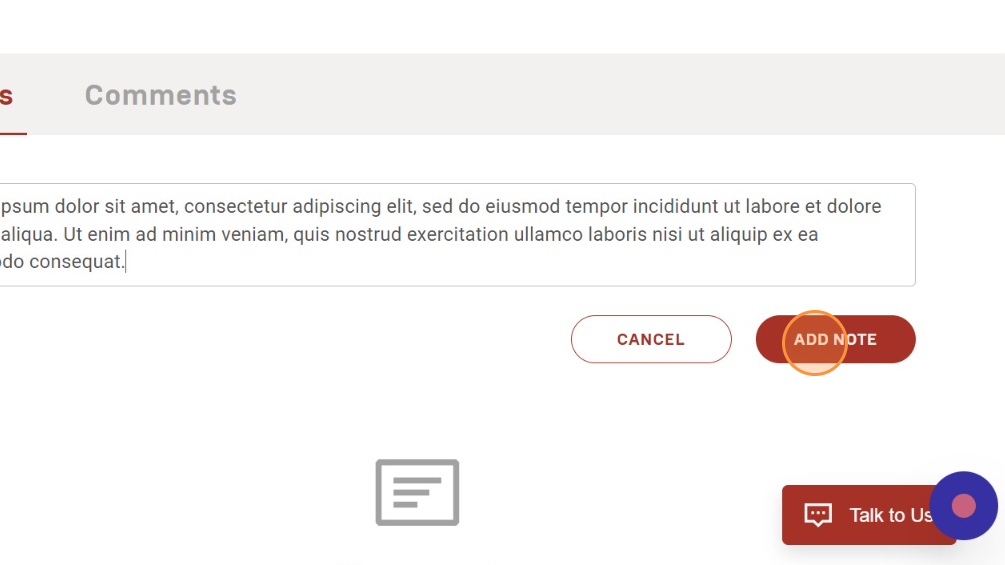
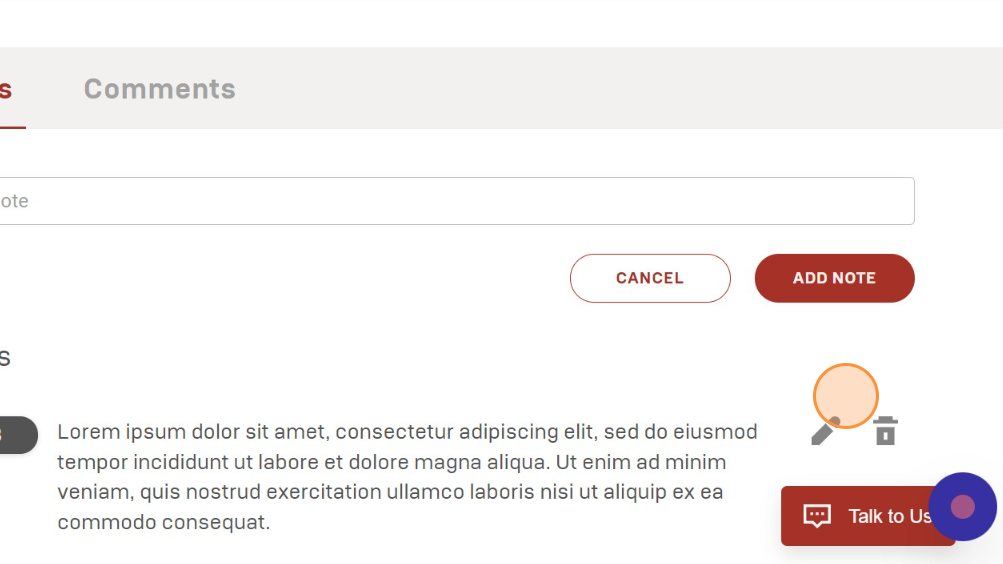
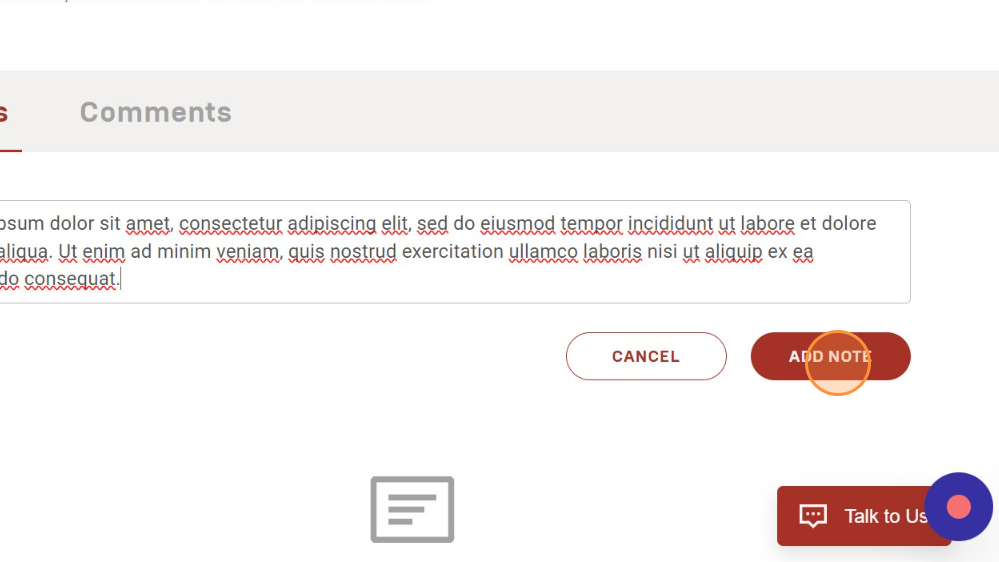
Click "Add a note" and start filling in the note. Click "CANCEL" to cancel filling in the note. Click "ADD NOTE" to upload the note into the system.
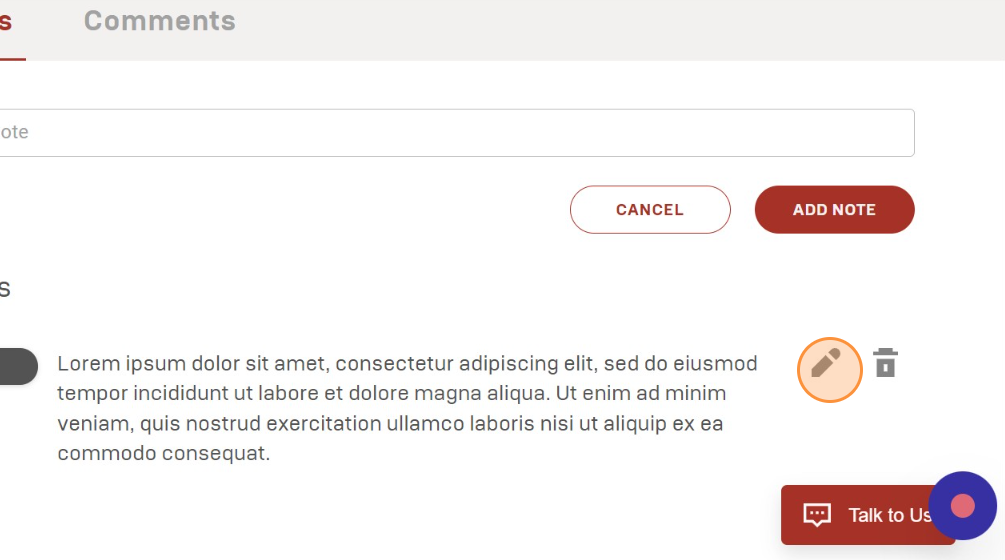
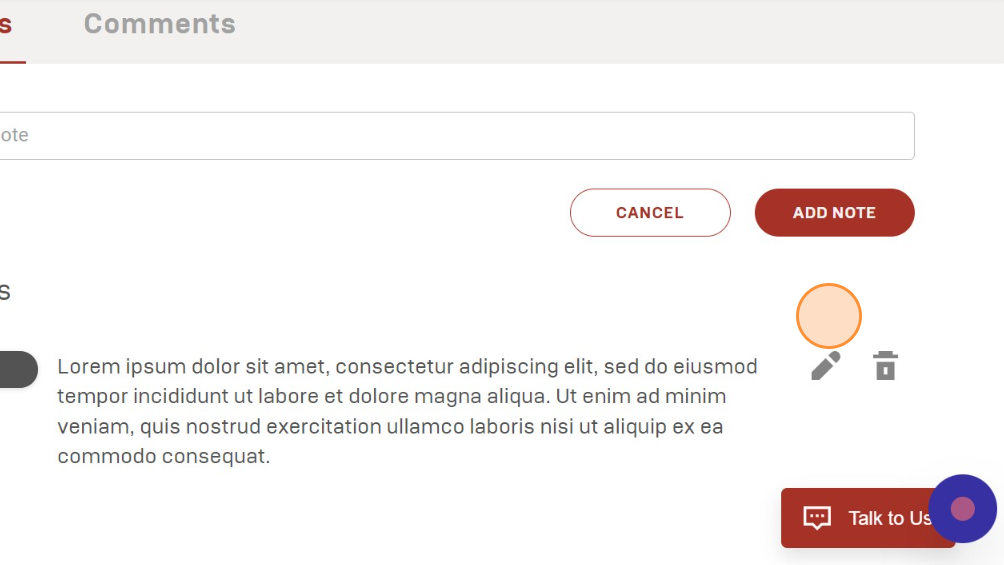
The results of the completed notes can be seen under the "Notes" section. Notes will be accompanied by page number information annotated.

Click the pencil icon to the right of the note text to change the contents of the uploaded note. Click the trash icon to delete the uploaded note.
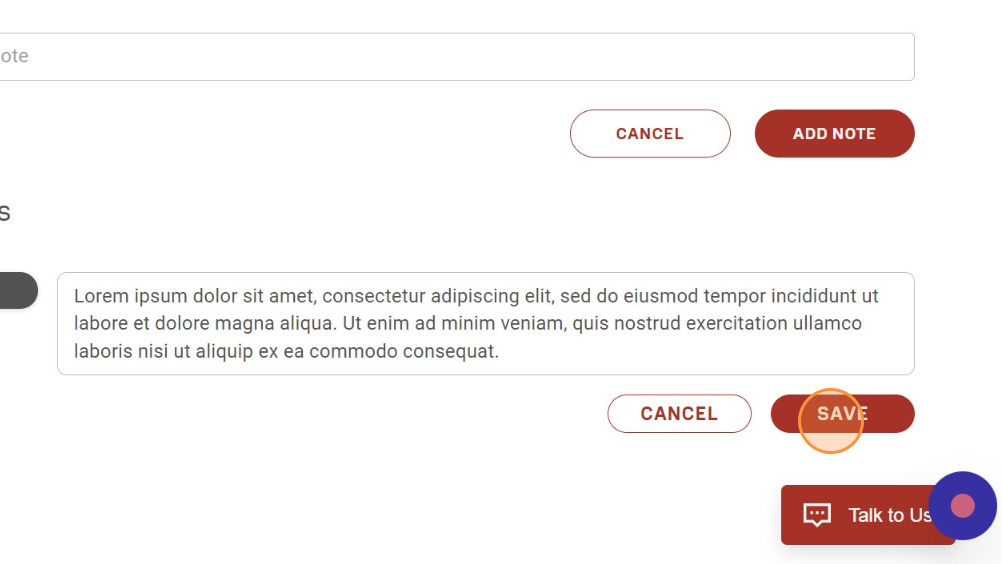
Ensure the edited notes are correct. Click "CANCEL" to cancel editing the note. Click "SAVE" to upload the note into the system.
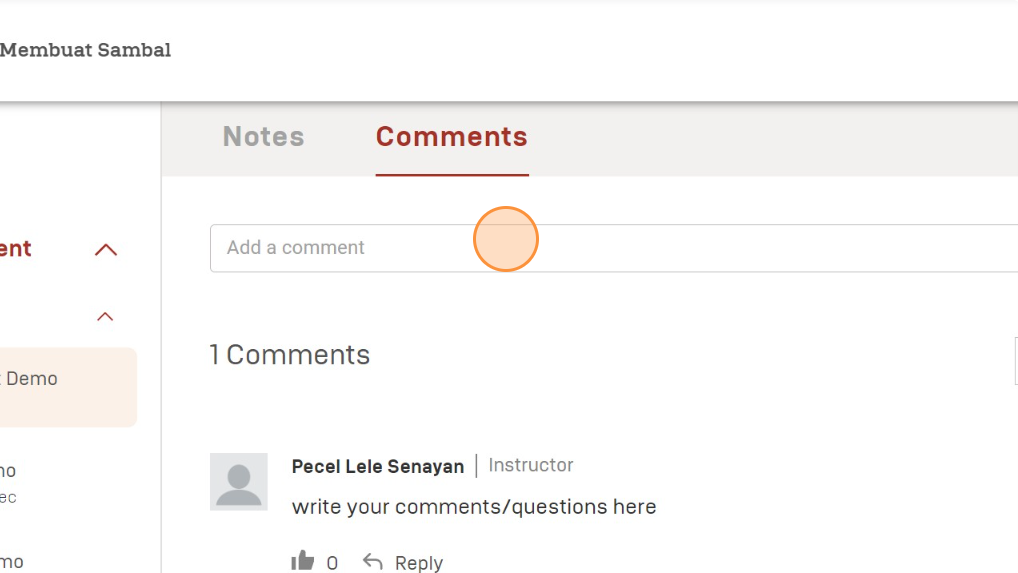
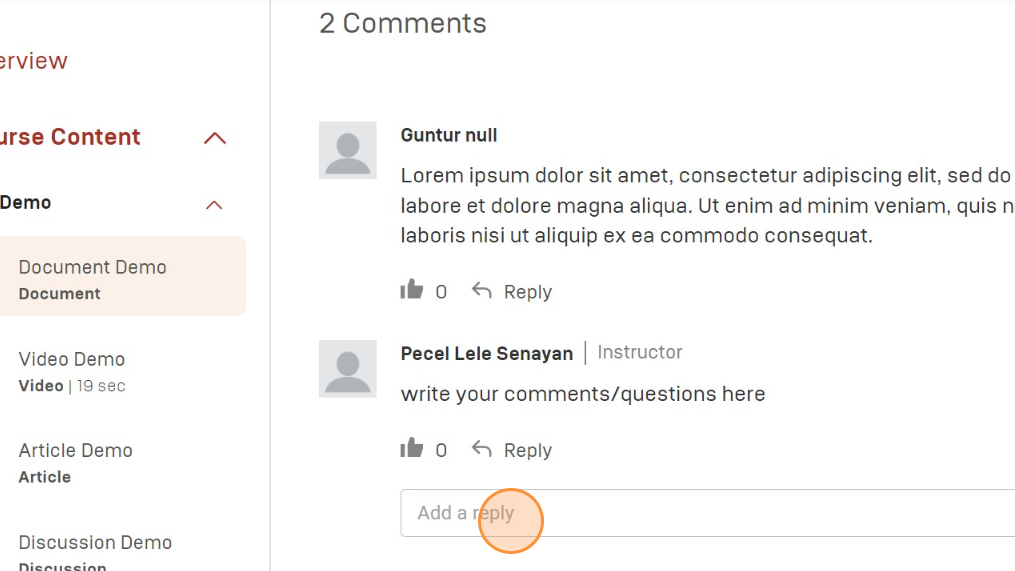
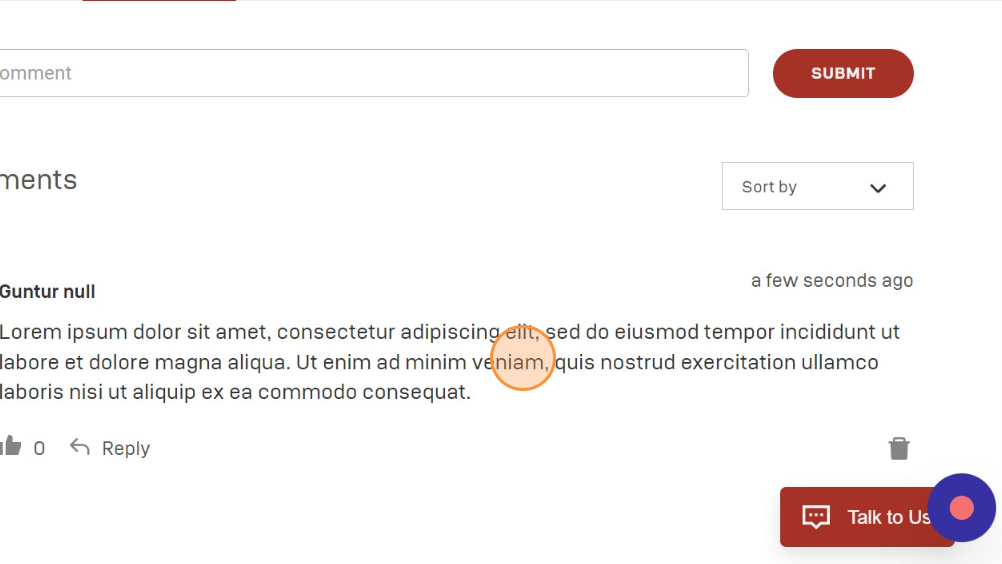
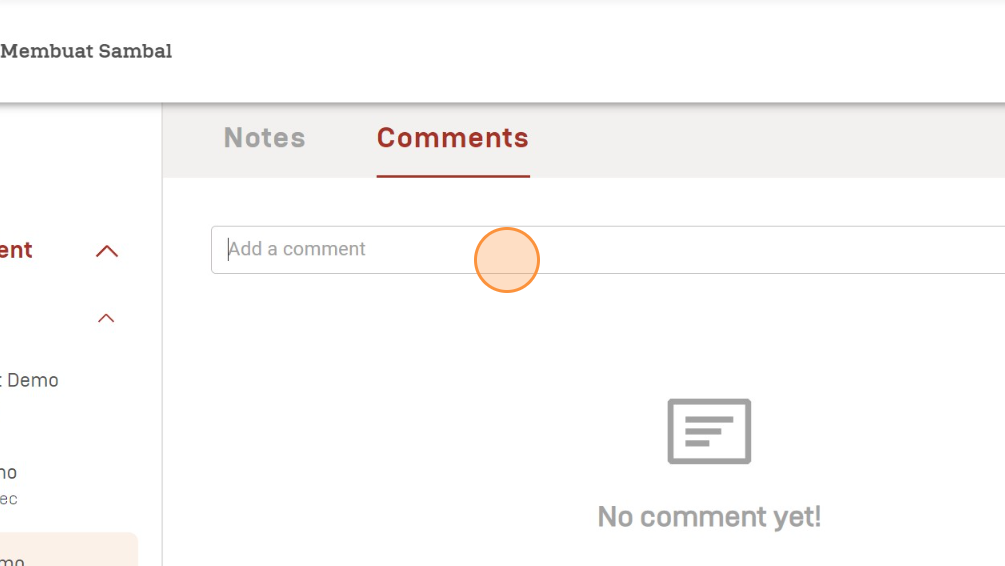
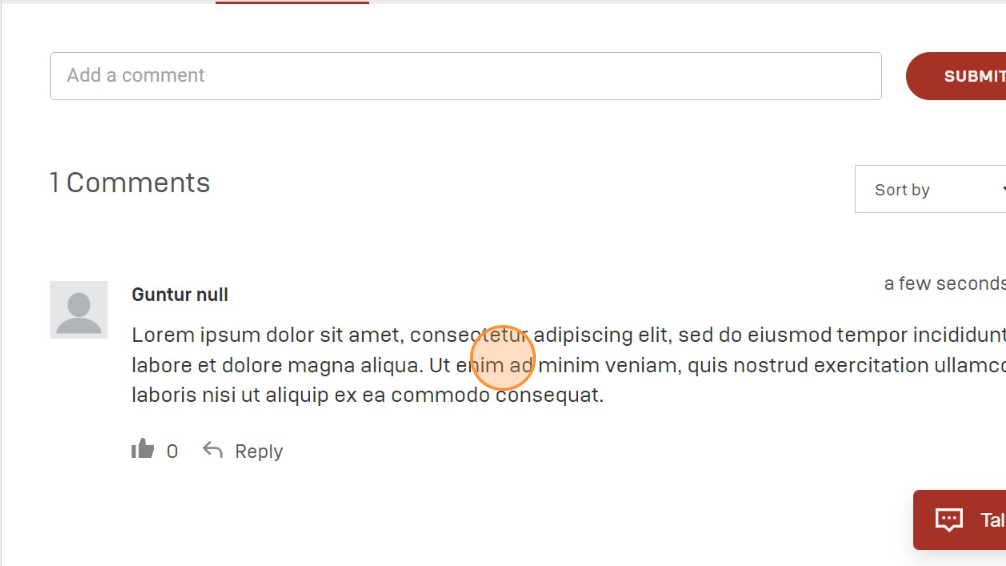
Click "Comments" to add a comment. The results of the comments can be seen by users, instructors, and users taking the same course.
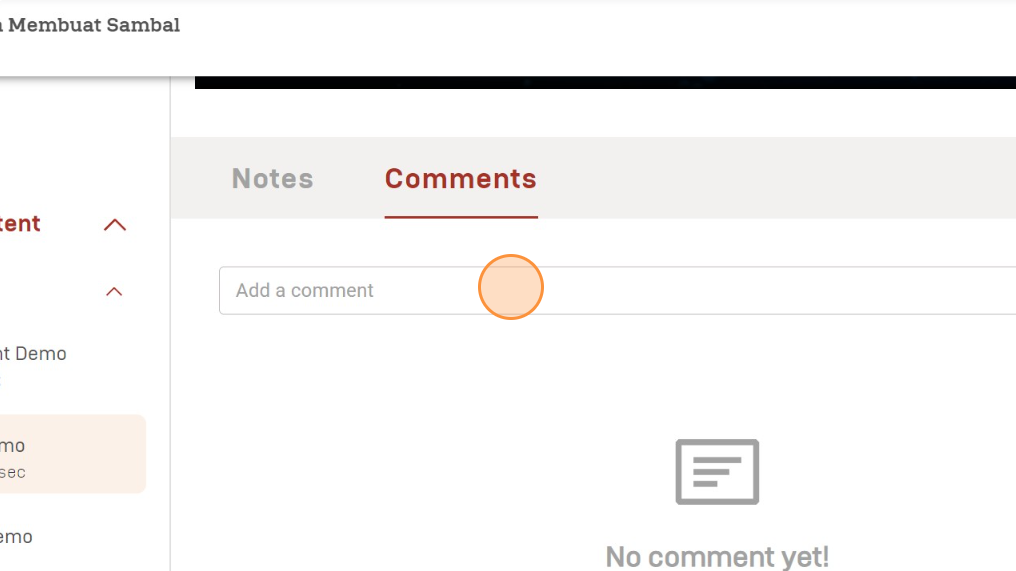
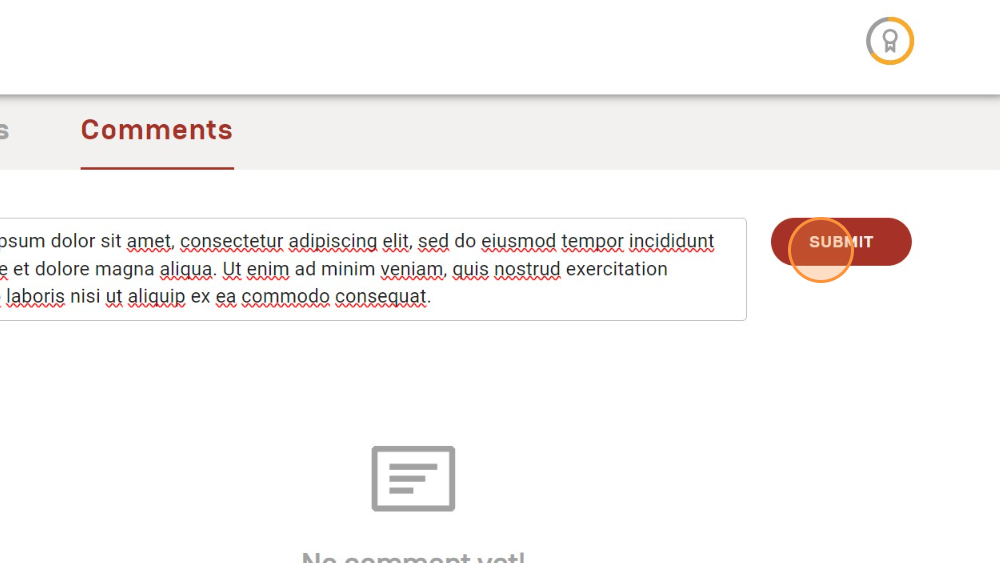
Click "Add a comment" and start filling in the comments.
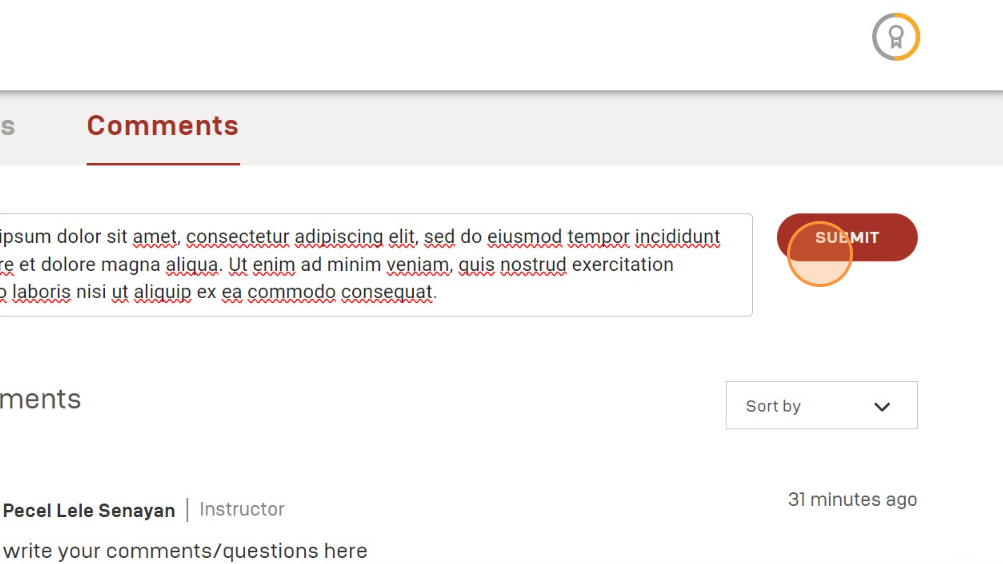
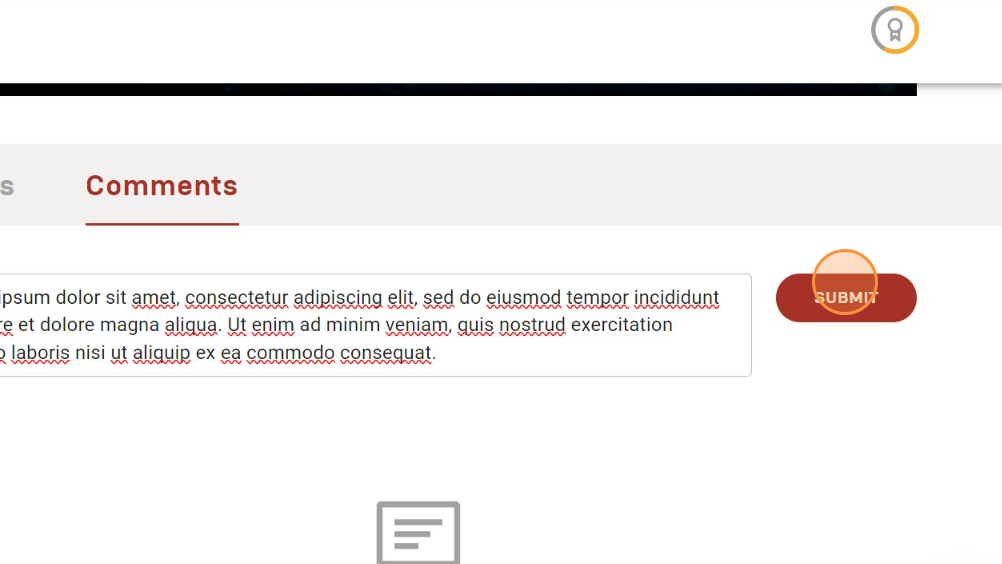
Click "SUBMIT" to upload comments into the system.
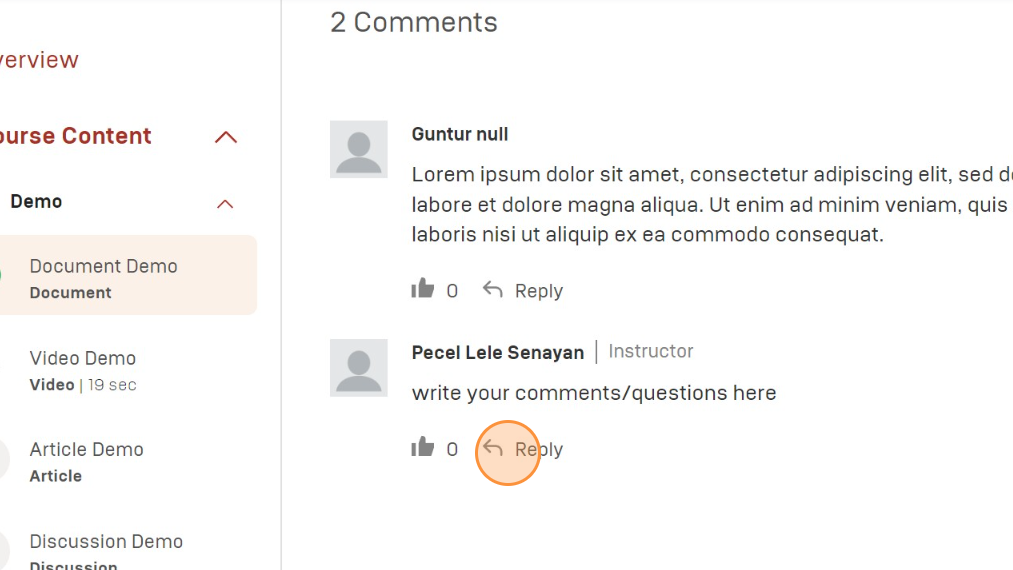
Click "Reply" to reply to the comment. Click the like icon to like the comment.
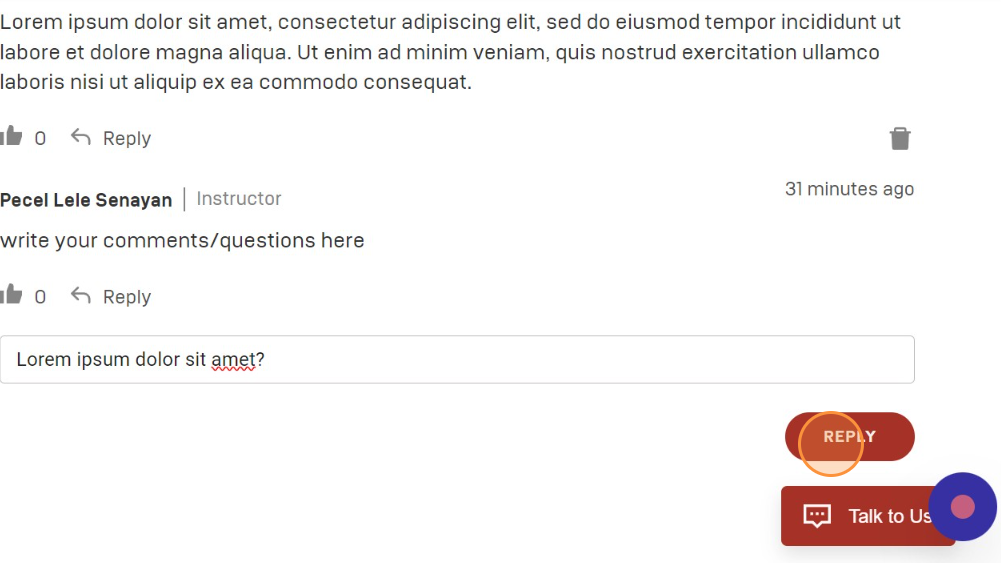
Click "Add a reply" and start filling in your comment reply.
Click "REPLY" to upload your comment reply into the system.
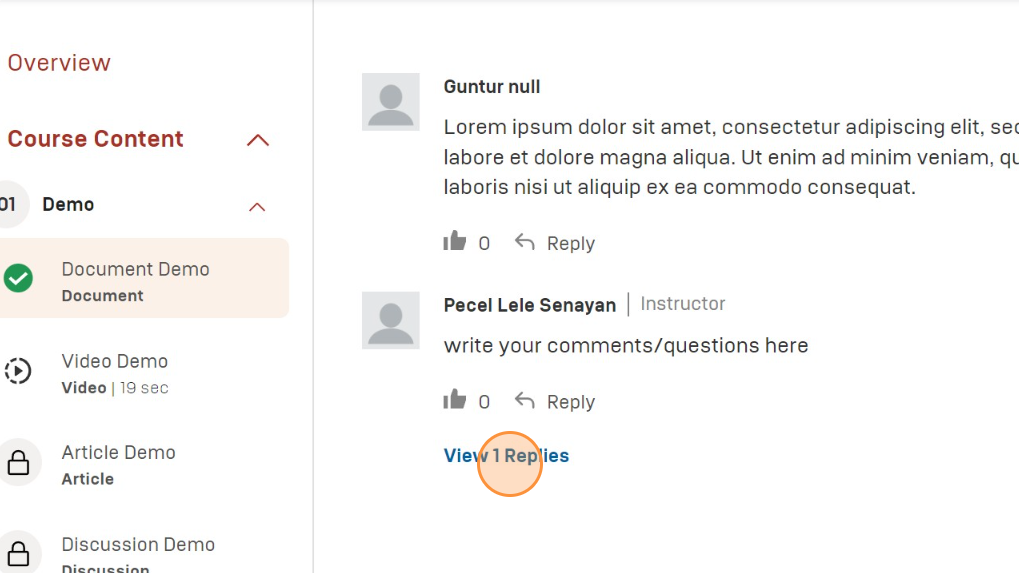
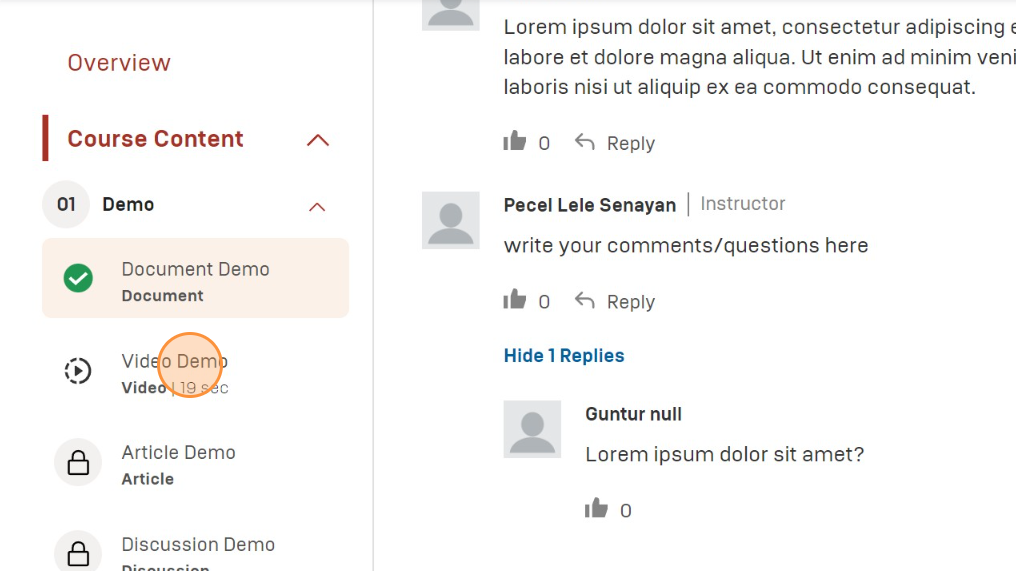
Click "View Replies" to see the comment replies.
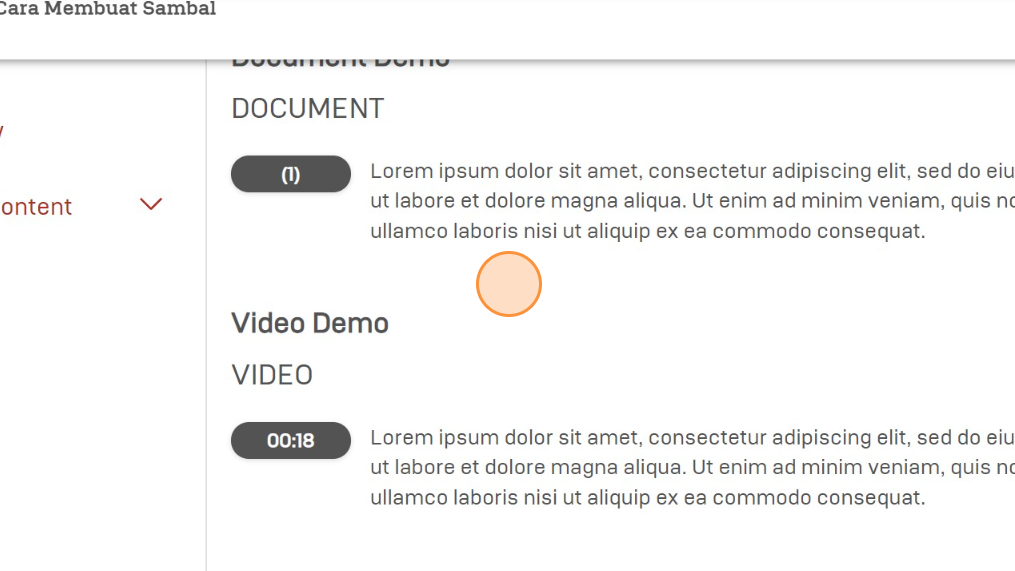
Understanding the Course (Video Subcontent)
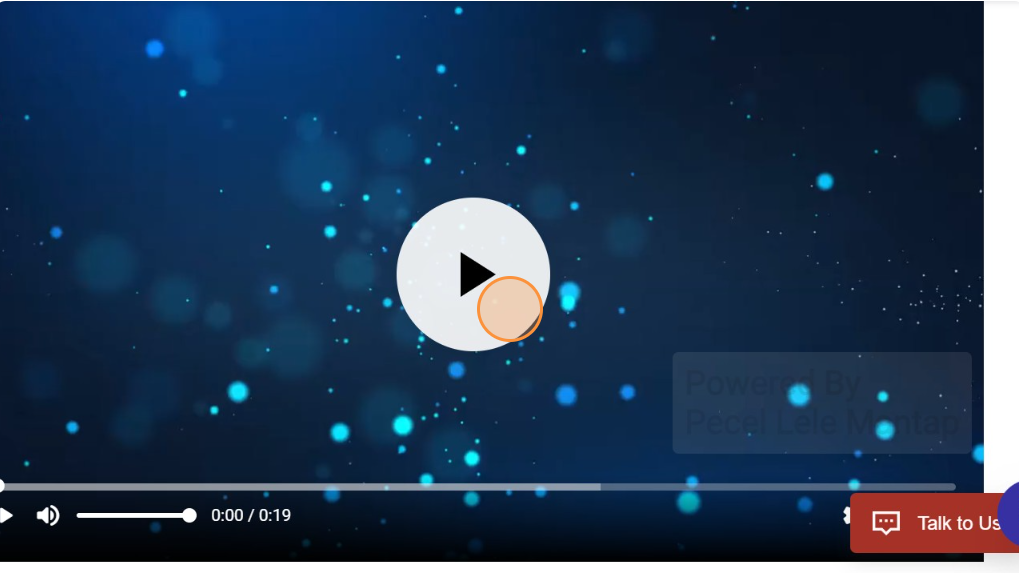
Click "Video Demo" to see an example of a video subcontent.
Click the play icon to start playing the video.
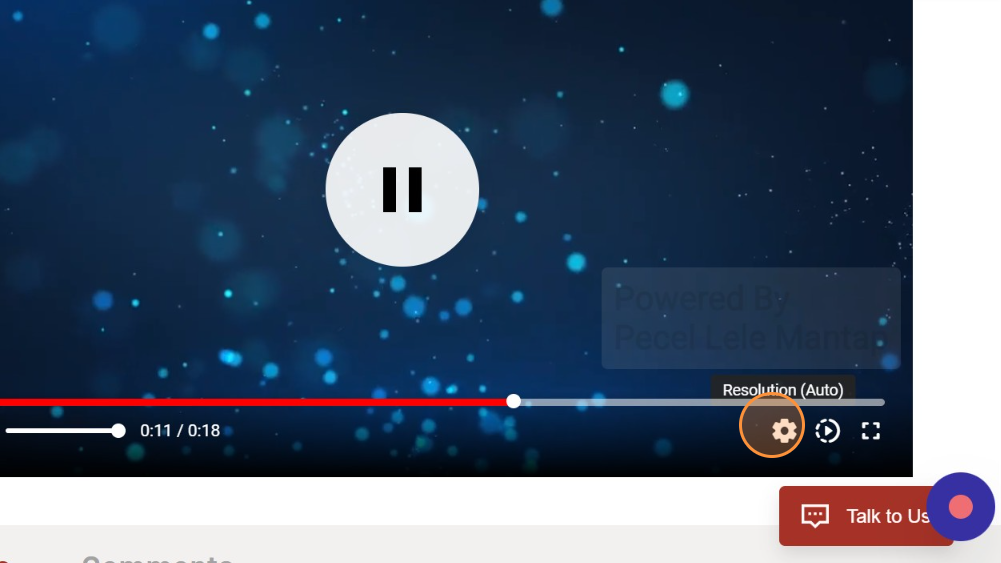
Click the settings icon to select the desired video resolution.
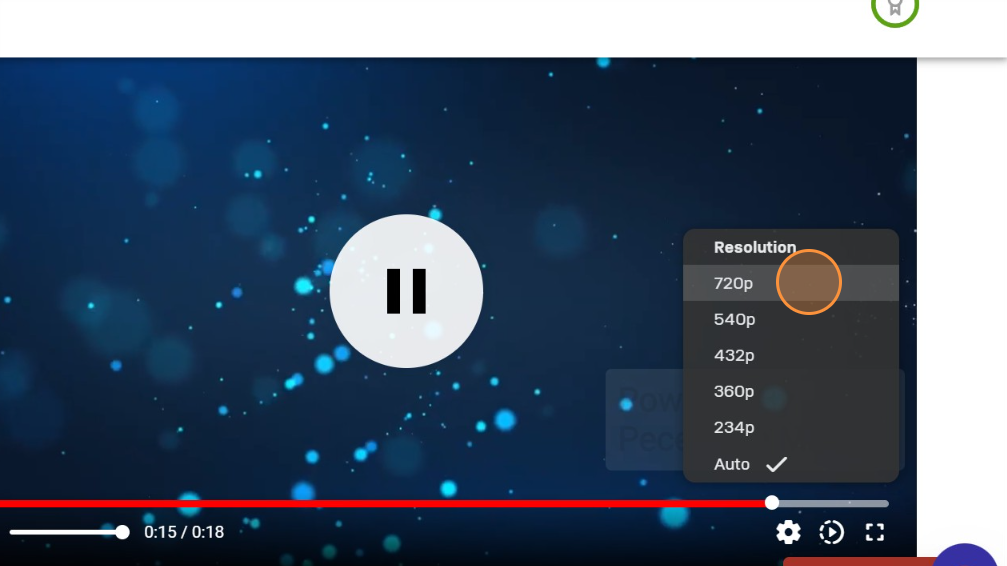
Select the desired video resolution. Auto Resolution means the resolution will be adjusted according to internet speed. 234p resolution is the lowest resolution and 720p resolution is the highest.
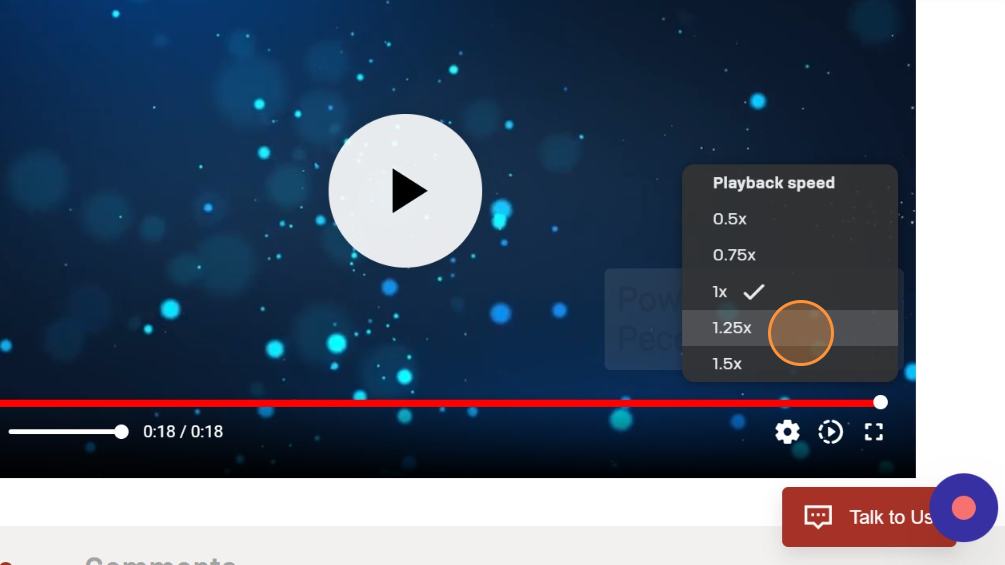
Click the "Playback speed" icon to determine the desired video speed.
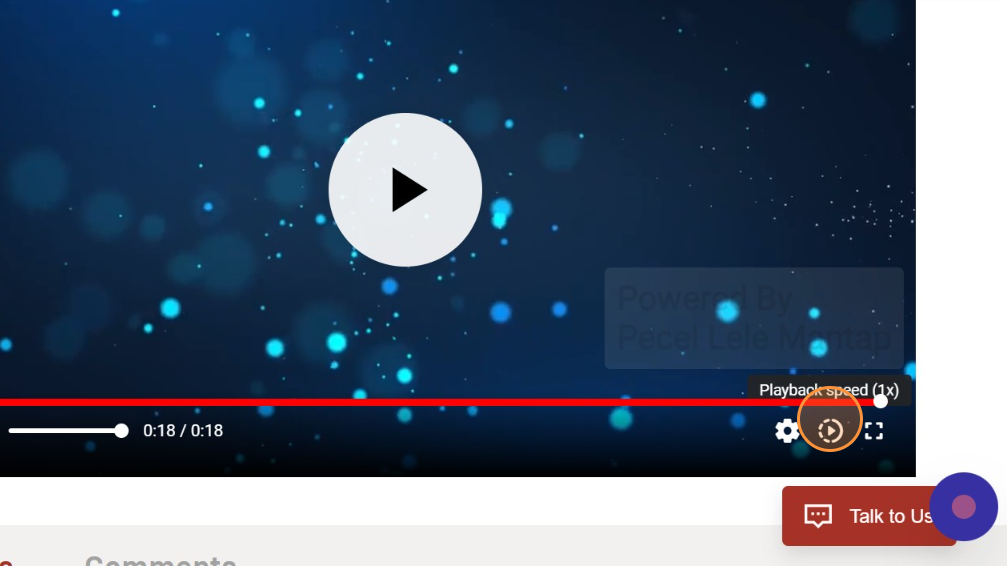
Select the desired video speed. 1x speed is average speed. 1.25x and 1.5x speeds are faster than the original video. Speeds of 0.75x and 0.5x are slower speeds than the original video.
Click the "Volume" icon to determine the desired volume.

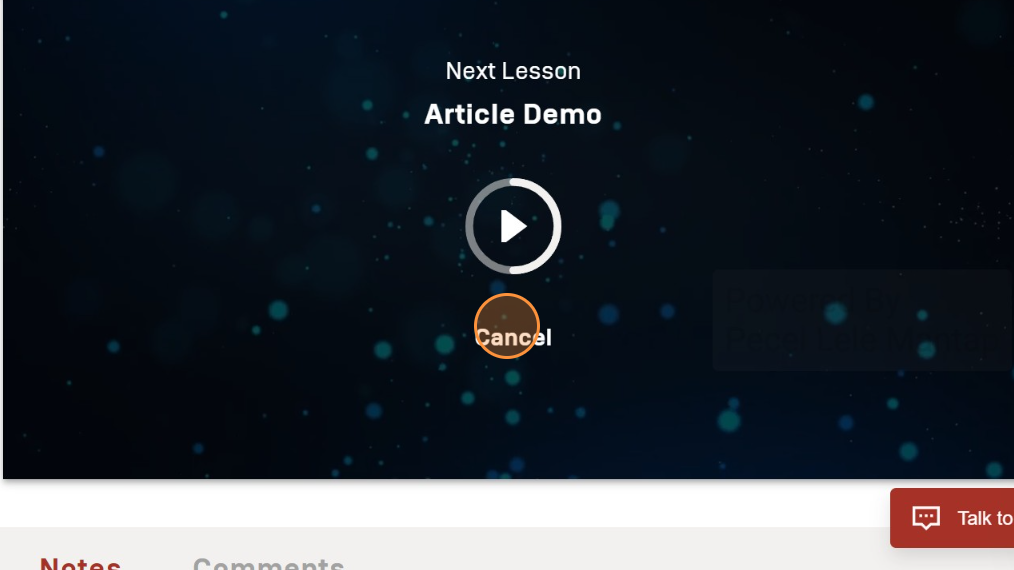
The system will automatically continue learning after some time. Click "Cancel" to cancel it.
Click "Notes" to add notes. The results of the notes can only be seen by the user.
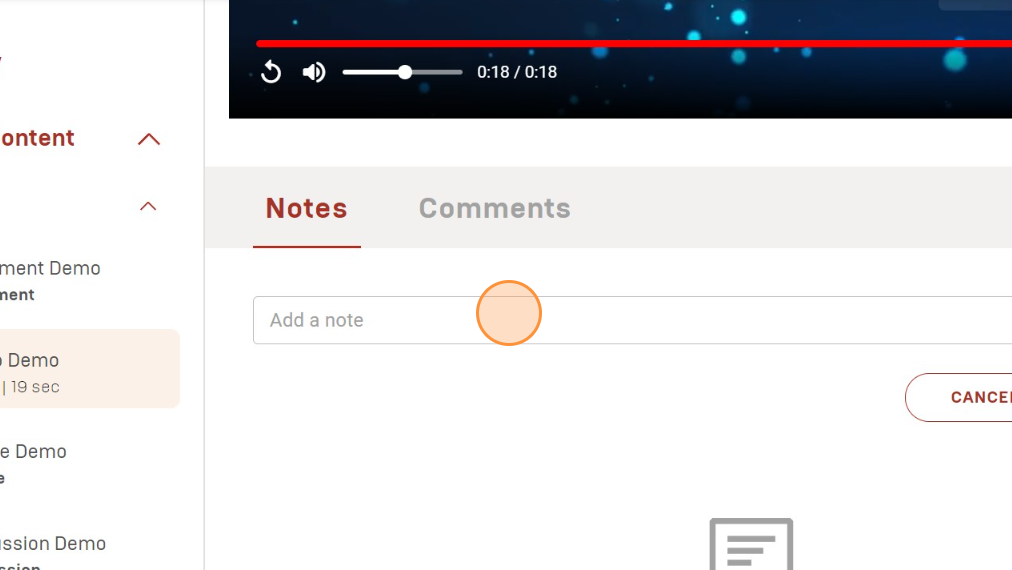
Click "Add a note" and start filling in the note. Click "CANCEL" to cancel filling in the note. Click "ADD NOTE" to upload the note into the system.

The results of the completed notes can be seen under the "Notes" section. Notes will be accompanied by annotated minute and second information.
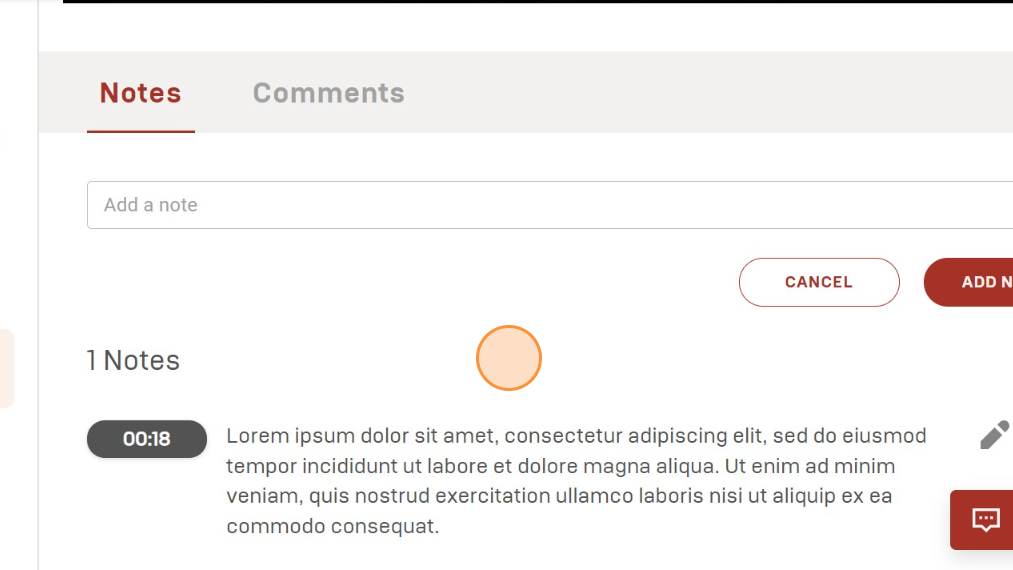
Click the pencil icon to the right of the note text to change the contents of the uploaded note. Click the trash icon to delete the uploaded note.
Click "Comments" to add a comment. The results of the comments can be seen by users, instructors, and users taking the same course.
Click "Add a comment" and start filling in the comments.
Click "SUBMIT" to upload comments into the system.
Click the trash icon to delete an uploaded comment. Click "Reply" to reply to the comment. Click the like icon to like the comment.
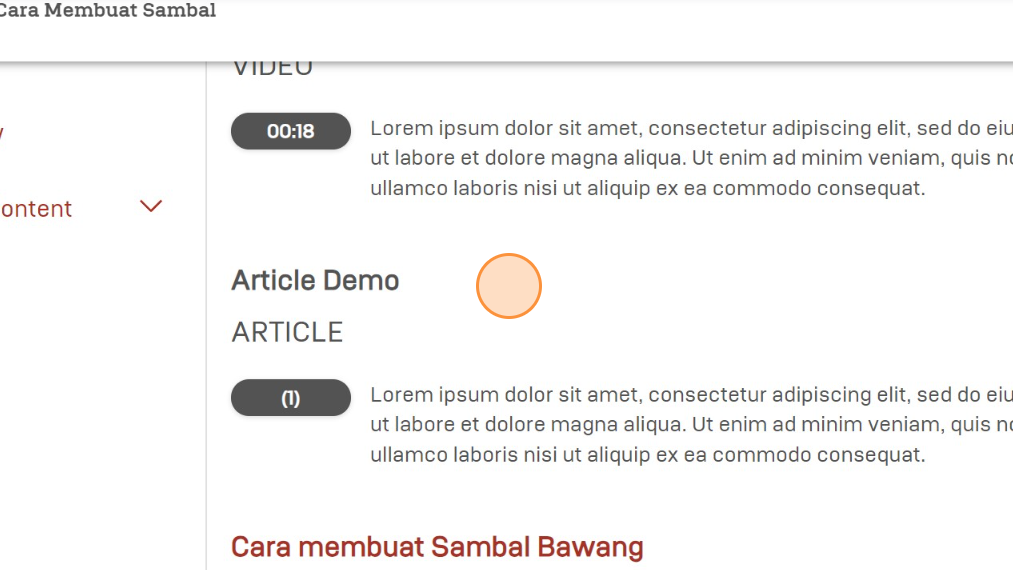
Understanding the Course (Article Subcontent)
Click "Article Demo" to see an example of article subcontent.
Above the article subcontent page, the title and description of the article provided will be shown.

Click "Notes" to add notes. The results of the notes can only be seen by the user.
Click "Add a note" and start filling in the note. Click "CANCEL" to cancel filling in the note. Click "ADD NOTE" to upload the note into the system.
The results of the completed notes can be seen under the "Notes" section. Notes will be accompanied by page number information annotated. Click the pencil icon to the right of the note text to change the contents of the uploaded note. Click the trash icon to delete the uploaded note.
Click "Comments" to add a comment. The results of the comments can be seen by users, instructors, and users taking the same course.
Click "Add a comment" and start filling in the comments.
Click "SUBMIT" to upload comments into the system.
Click the trash icon to delete an uploaded comment. Click "Reply" to reply to the comment. Click the like icon to like the comment.
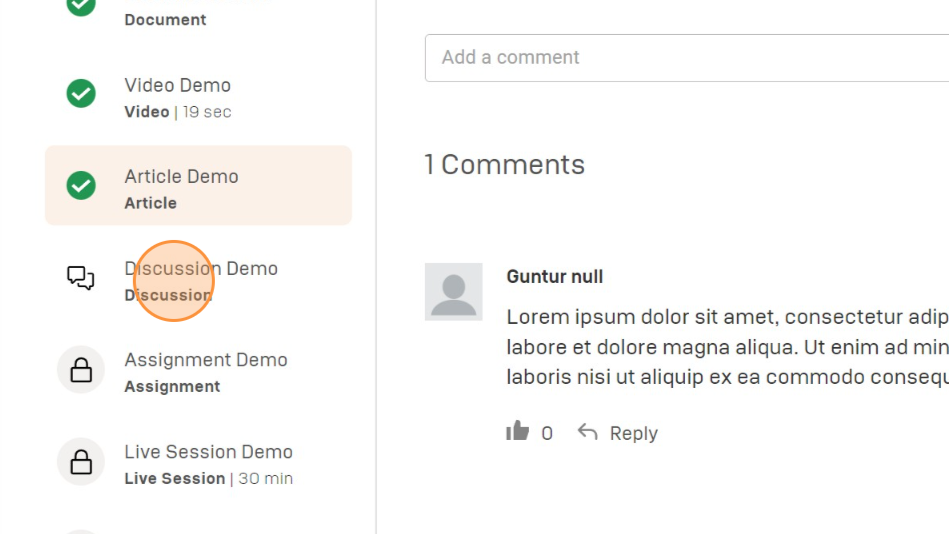
Understanding the Course (Discussion Subcontent)
Click "Discussion Demo" to see the discussion subcontent.
At the top of the discussion sub-content page, the title and description of the discussion provided will be shown.
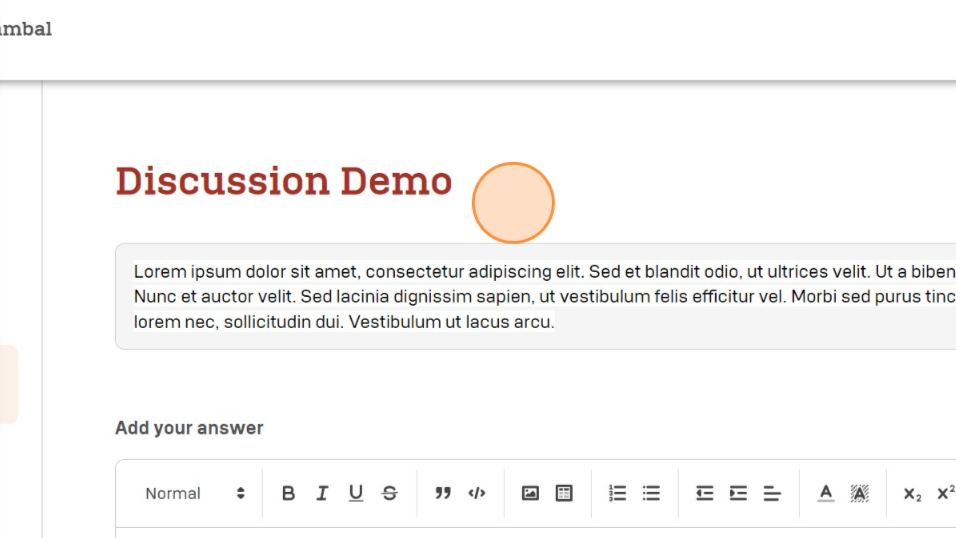
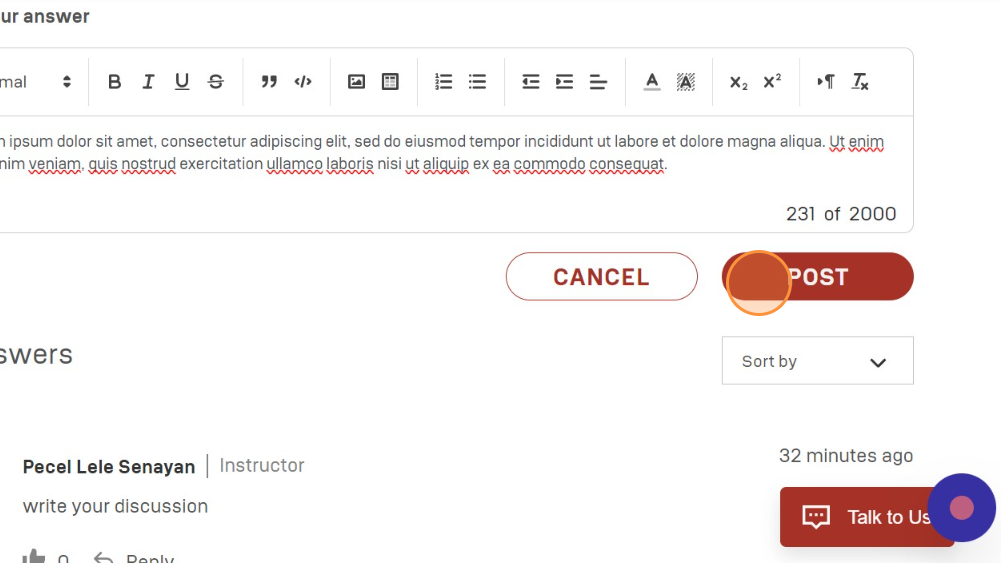
To work on the discussion, enter your answer in the field under "Add your answer".
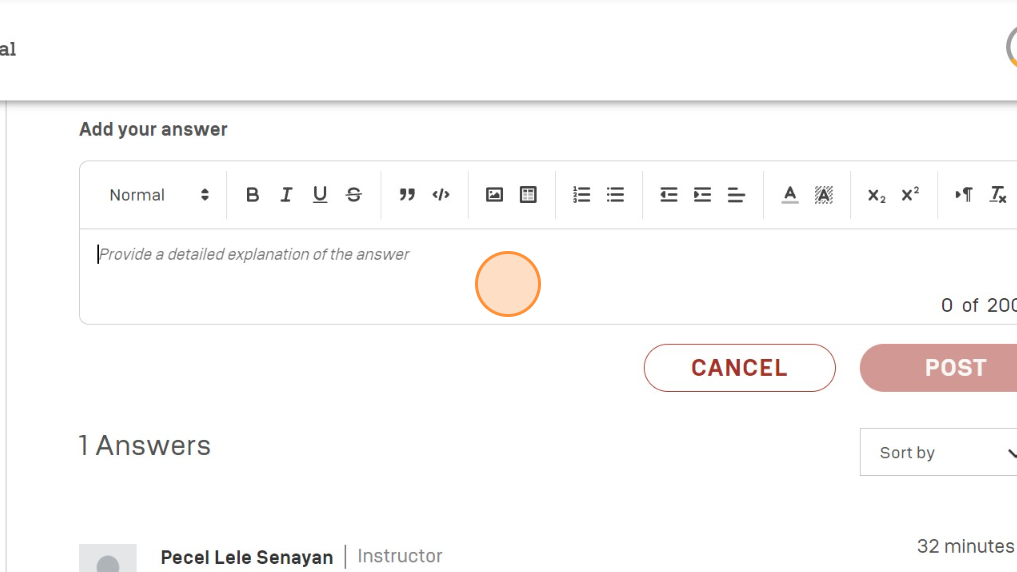
Ensure the answers entered are correct. Click "CANCEL" to cancel the answer. Click "POST" to upload answers into the system.
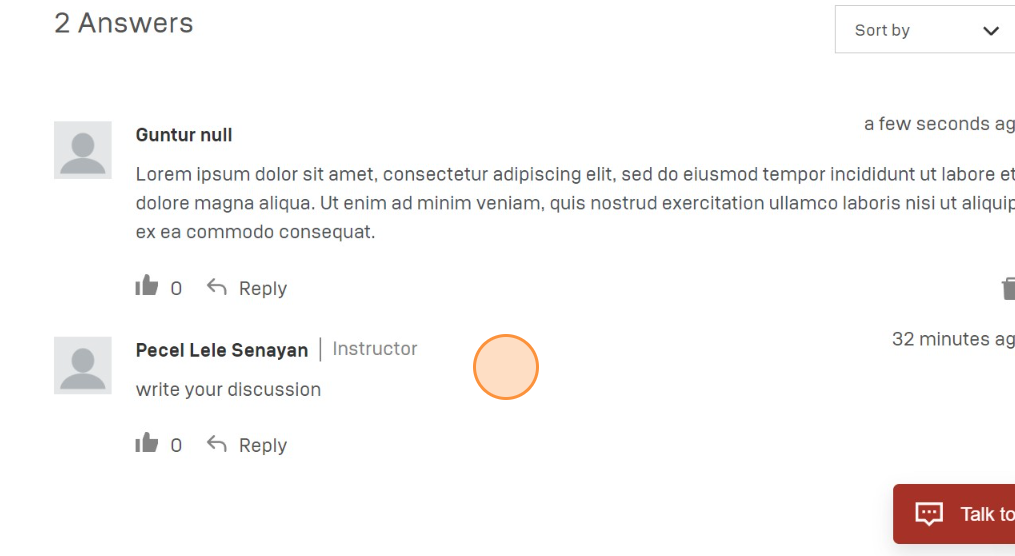
The results of the discussion answers can be seen under the answers section. Click the trash box icon to delete uploaded answers. Click "Reply" to reply to another answer. Click the like icon to like the answer.
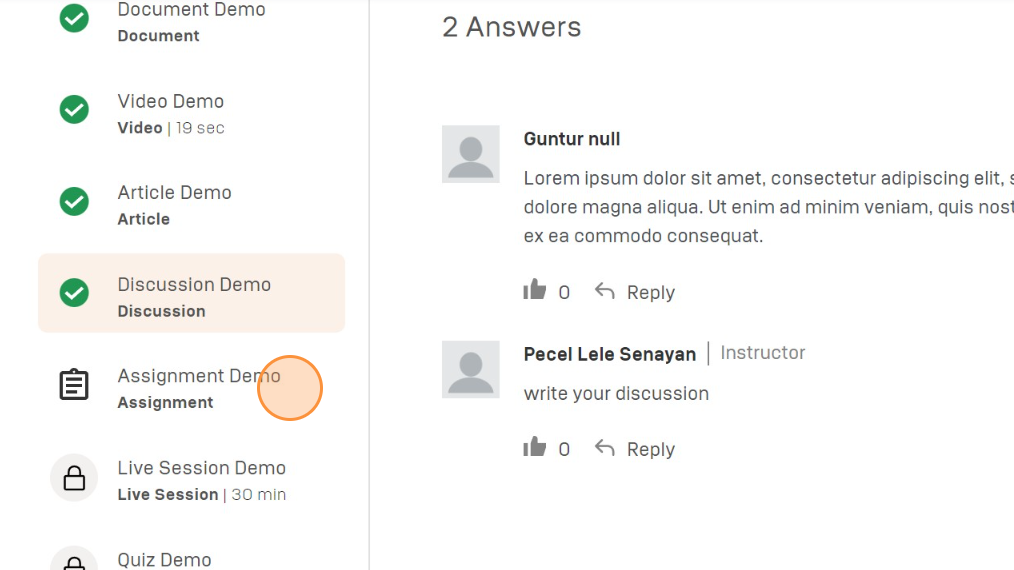
Understanding the Course (Assignment Subcontent)
Click "Assignment Demo" to see an example of an assignment subcontent.
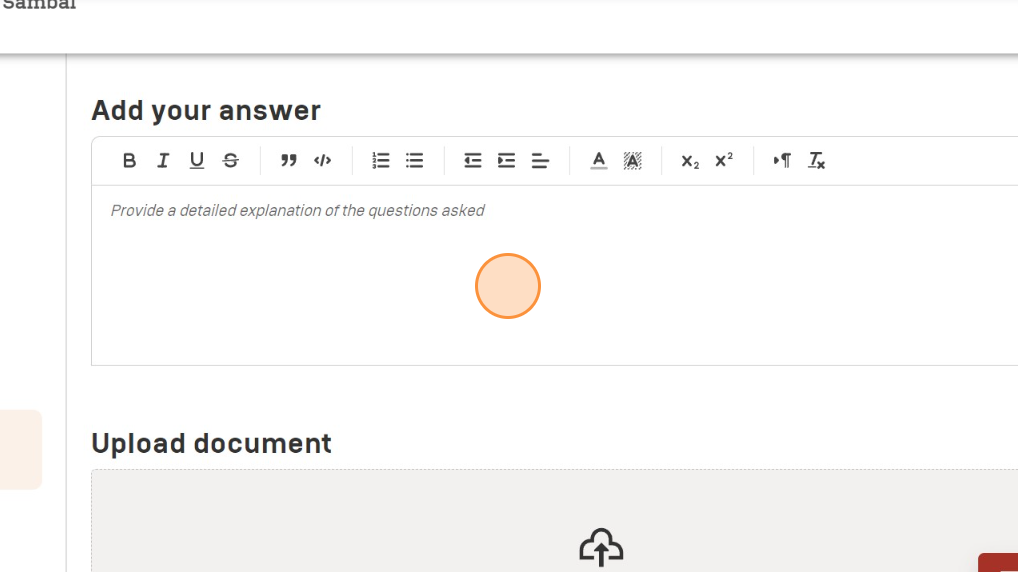
At the top of the assignment subcontent page, the title and description of the assignment given will be shown.

Under "Submit your Assignment", the work period, work score, and work status of the assigned assignment will be shown.
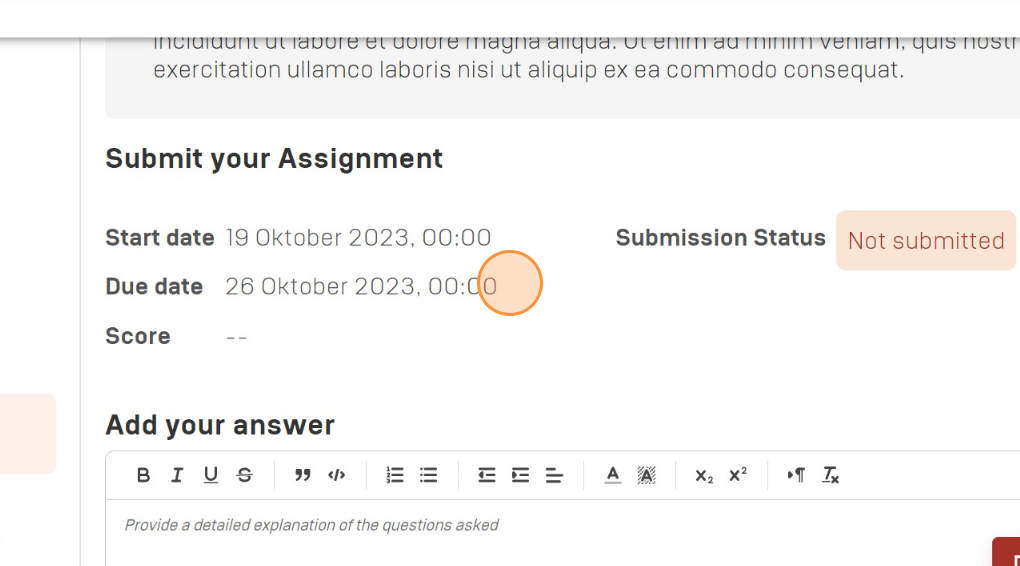
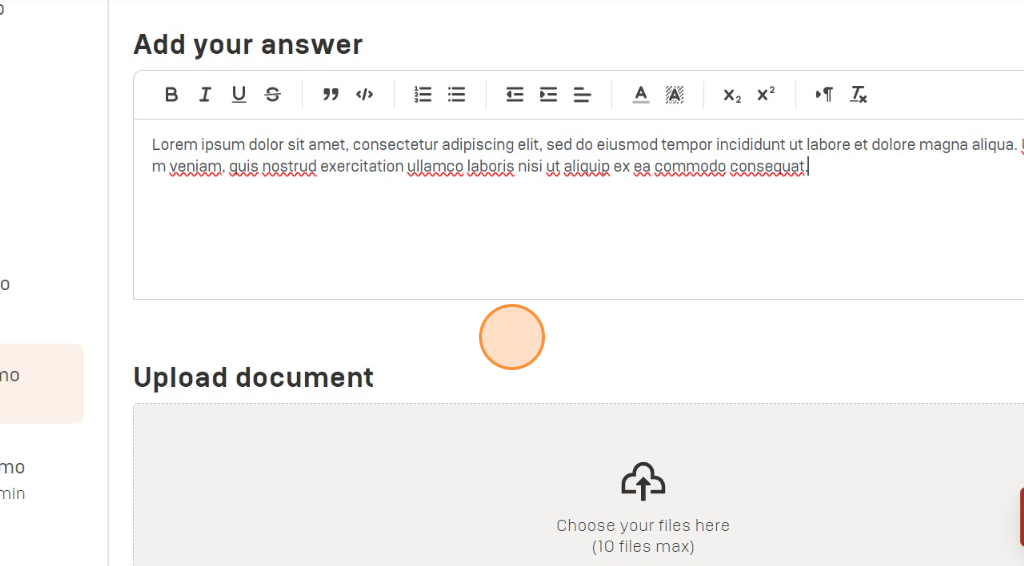
To complete the assignment, enter your answer in the field under "Add your answer".
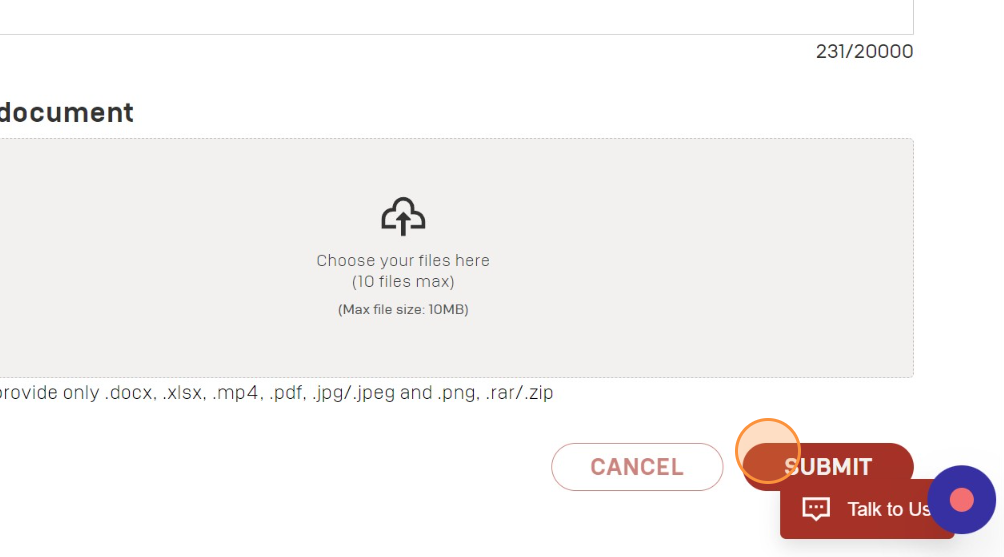
If you want to include documents to support your answer, click "Choose your files here" under "Upload document".
Click "SUBMIT" when the answers and documents entered are correct. Documents accepted are only in the form of .docx, .xlsx, mp4, .pdf, .jpg, .jpeg, .png, .rar, .zip. Documents are limited to 10 with a maximum size of 10MB.
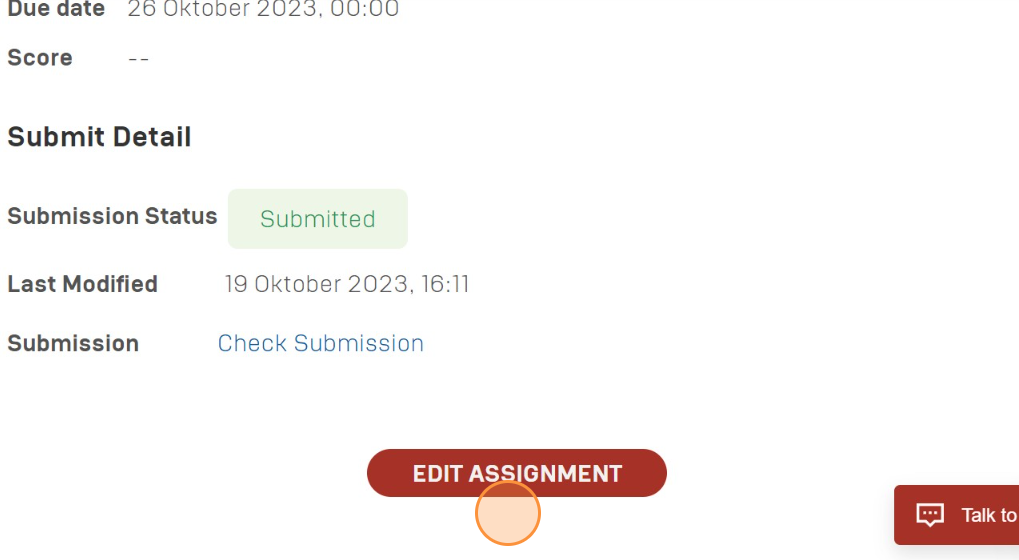
Once collected, the assignment subcontent page will display the changed status. The status "Submitted" means the assignment was successfully submitted. "Last Modified" shows the time the assignment was last submitted or edited.
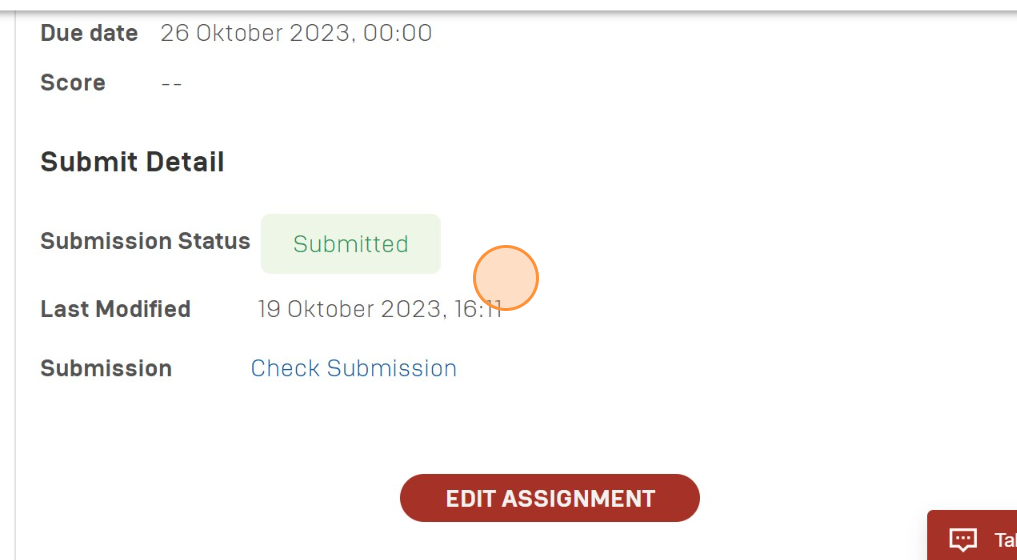
Click "Check Submission" to check the submitted assignments again.

If you want to edit an assignment that has been submitted, click "EDIT ASSIGNMENT".
Understanding the Course (Live Session Subcontent)
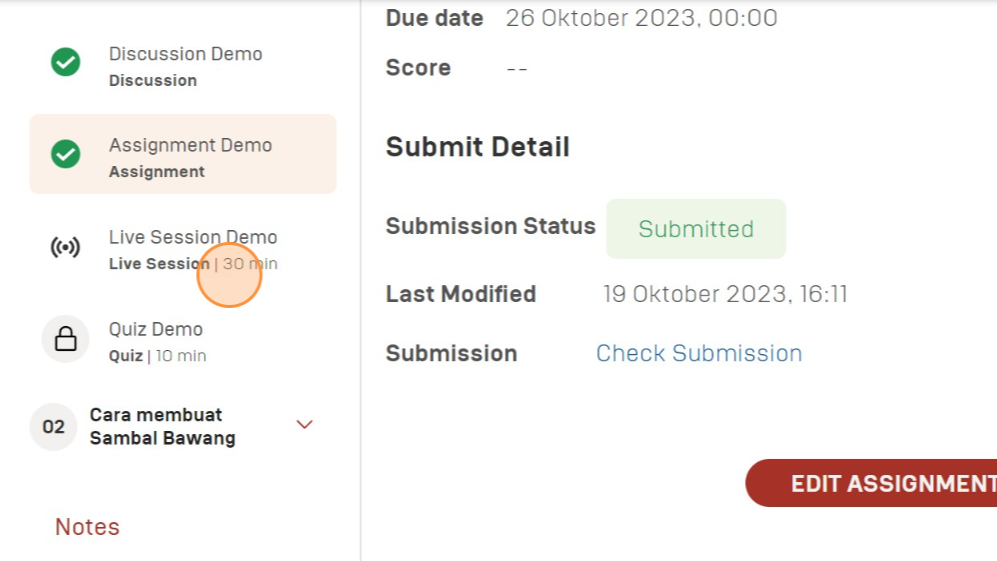
Click "Live Session Demo" to see an example of live session subcontent.
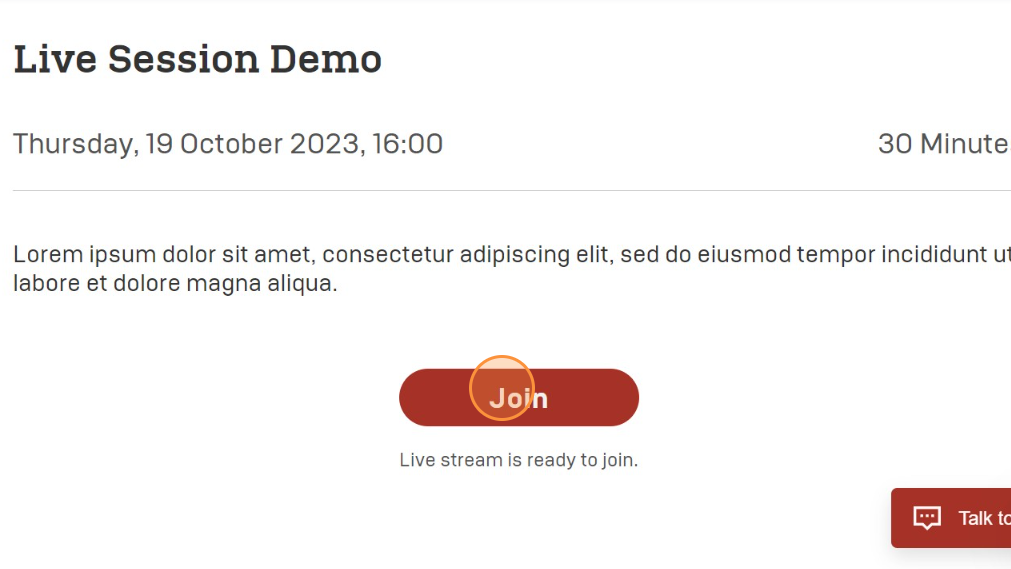
After ensuring the title, date, time, duration, and description of the live session are correct, click "Join" to join the live session.
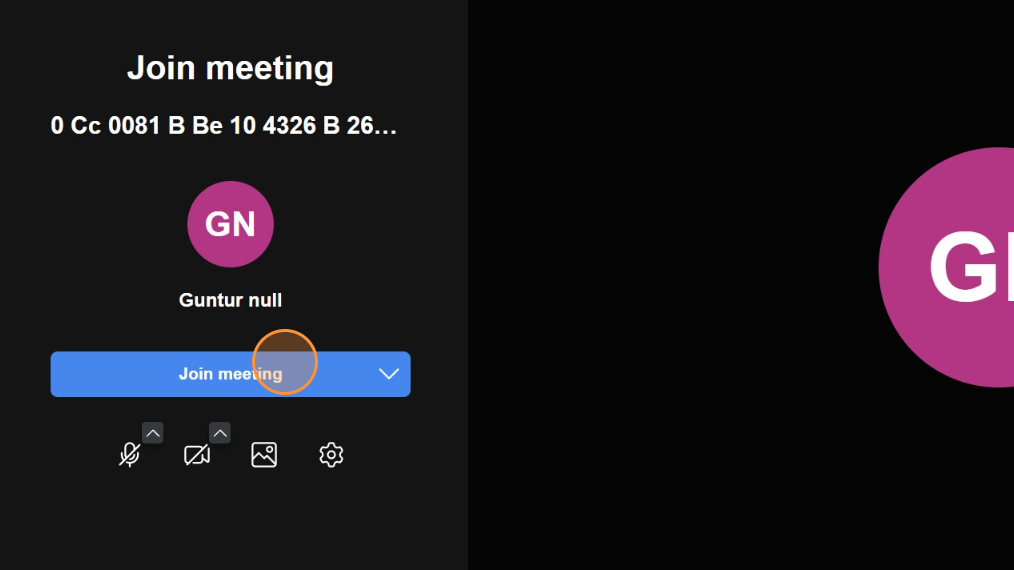
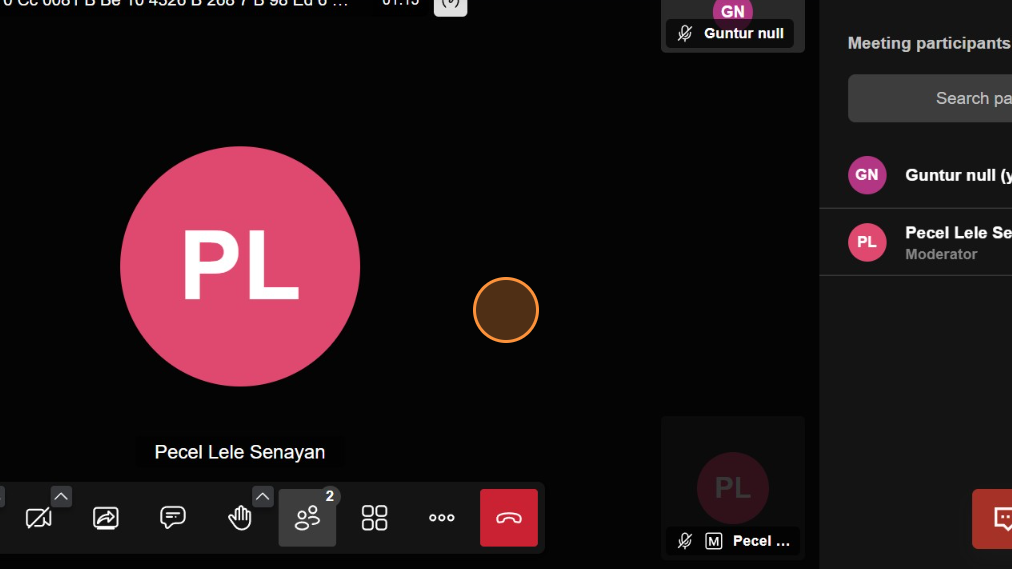
Click "Join meeting" to enter the virtual live session room.
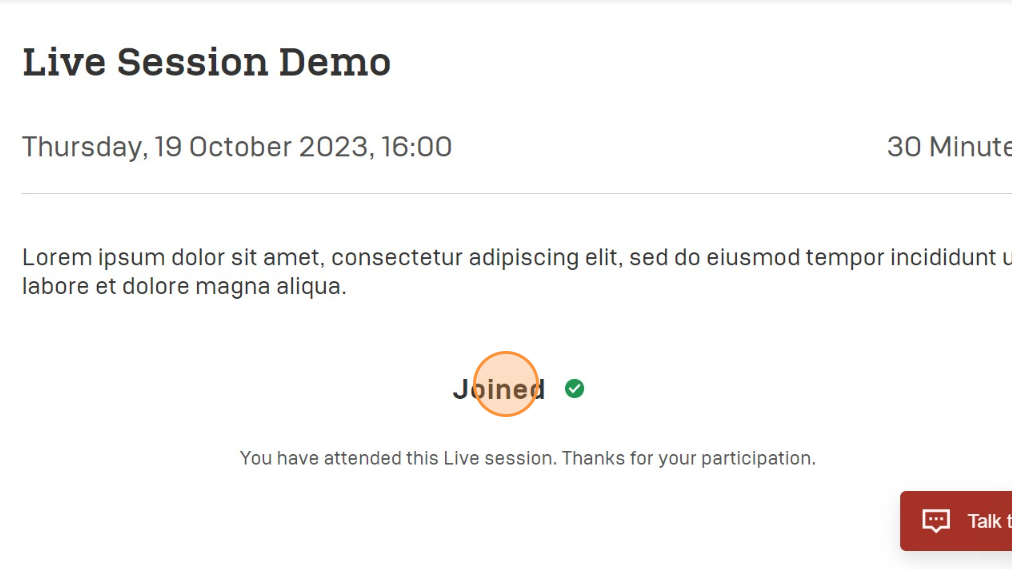
After participating in a live session, the live session subcontent page will give the status "Joined" which means the live session has been attended.
Understanding the Course (Quiz Subcontent)
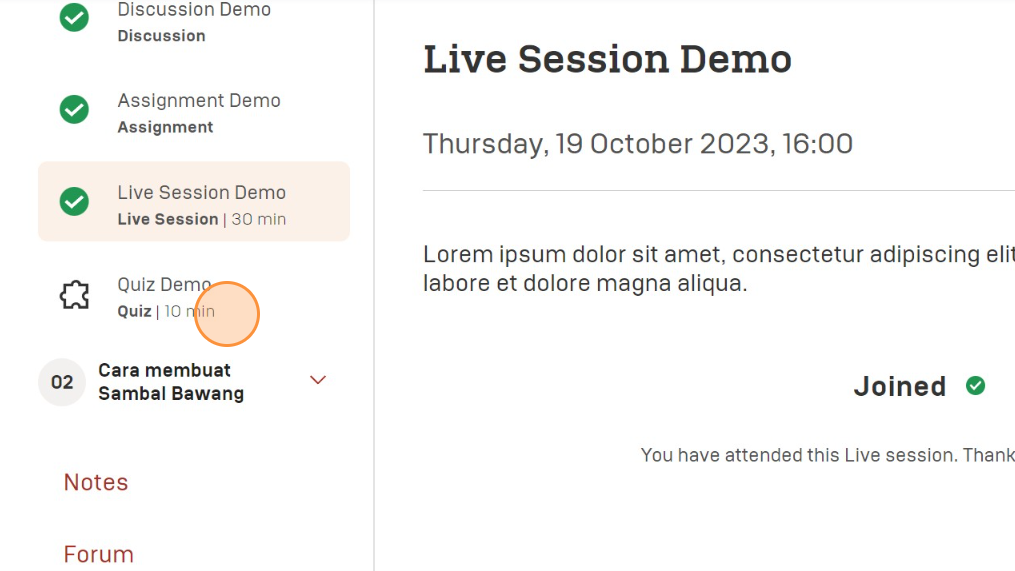
Click "Quiz Demo" to see an example of a quiz subcontent.
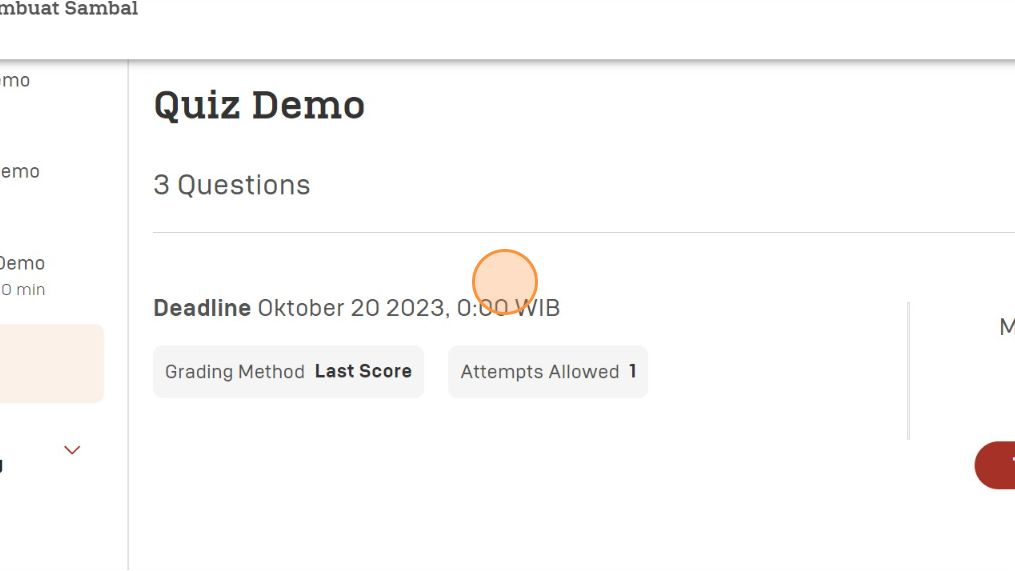
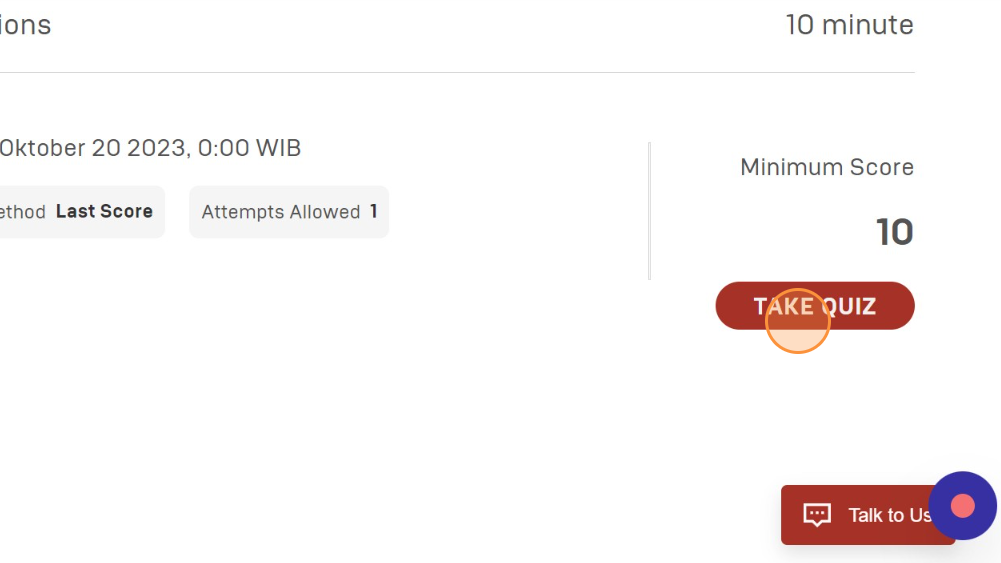
The quiz sub-content page will show the number of questions, assessment method, permitted attempts, minimum score, and quiz duration.
Click "TAKE QUIZ" to start taking the quiz.
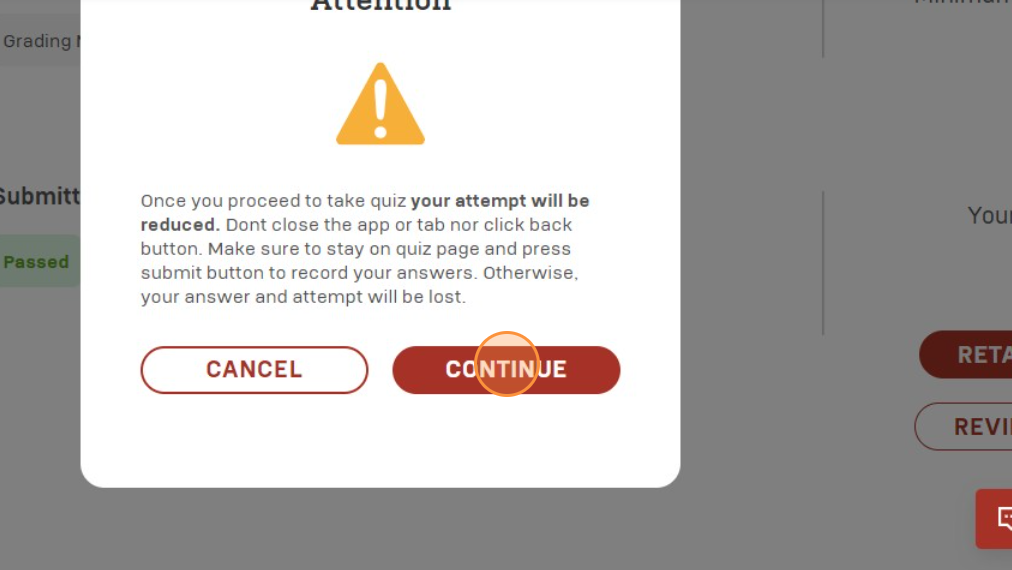
Before being directed to the quiz page, a pop-up will appear reminding you of the number of attempts, reminding you constantly to be careful when working on the questions, reminding you to always be on the quiz page, and clicking "SUBMIT" at the end of the process so that the answers are recorded.
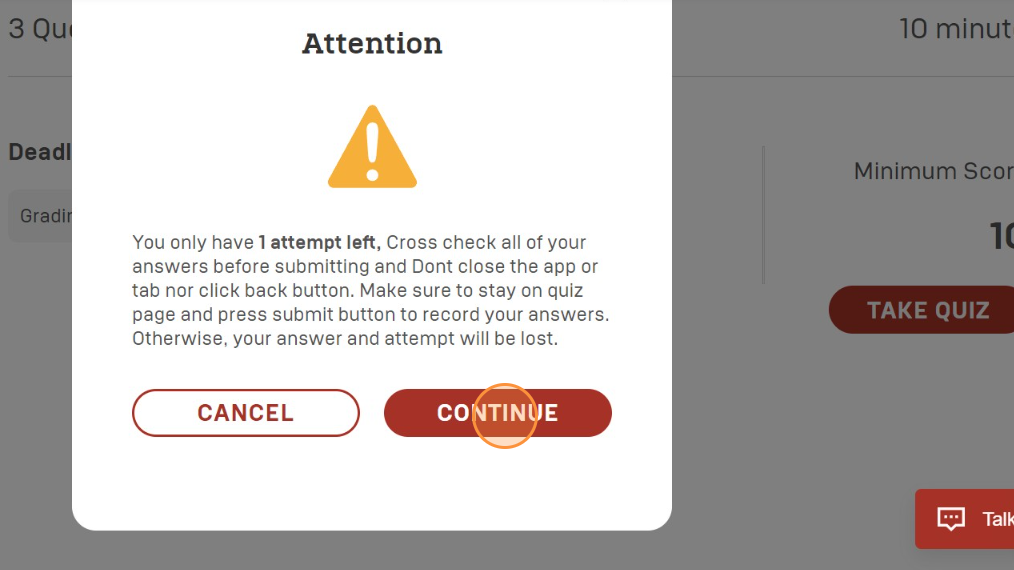
Click "CONTINUE" if the pop-up warning has been understood.
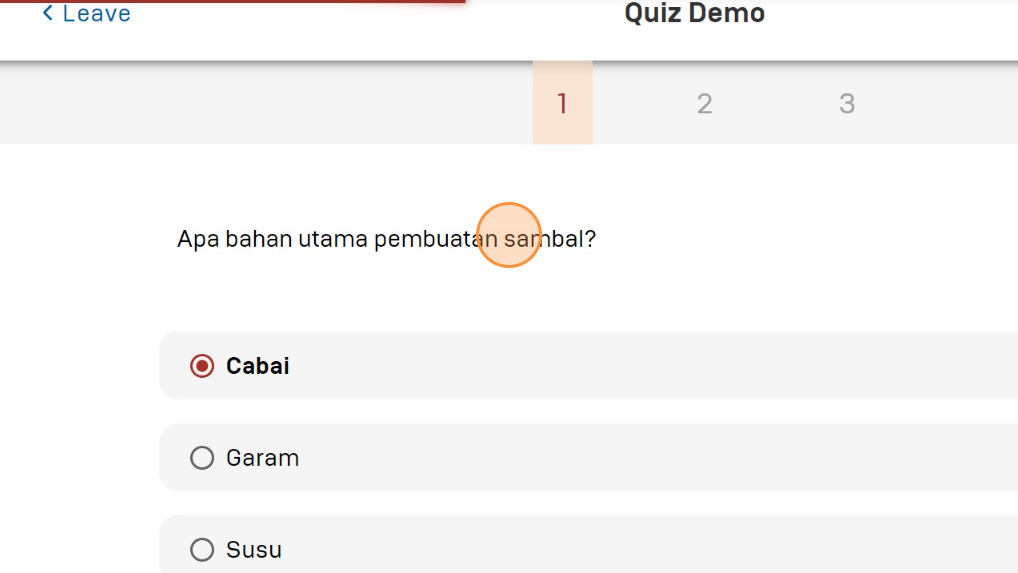
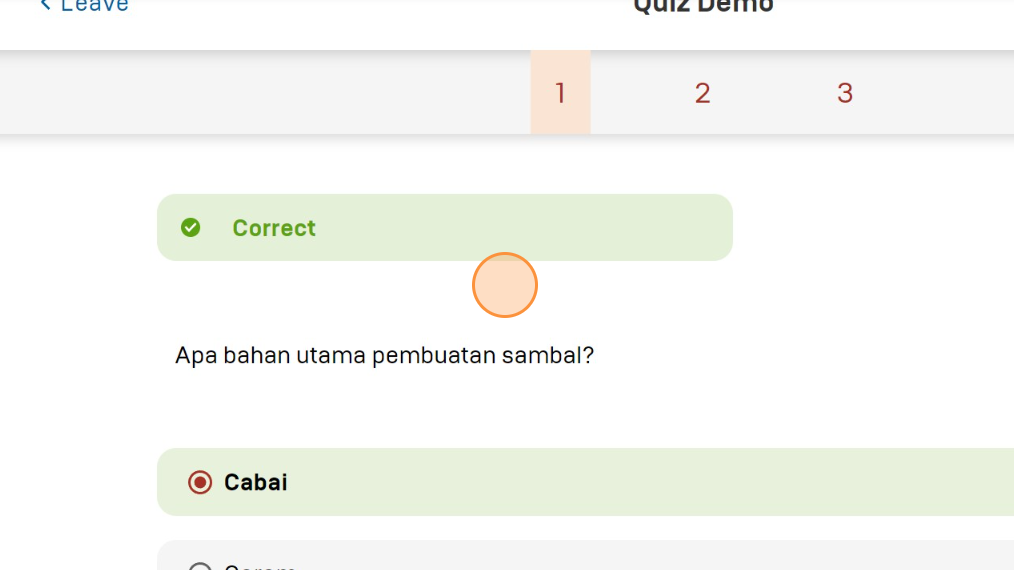
The quiz page will show the quiz title at the top and the number of questions below it. Filling in a round answer means that the question you are working on is a single choice. Click on one of the answer choices to lock the answer (the circle will fill in red). Click "Leave" to leave the quiz page.
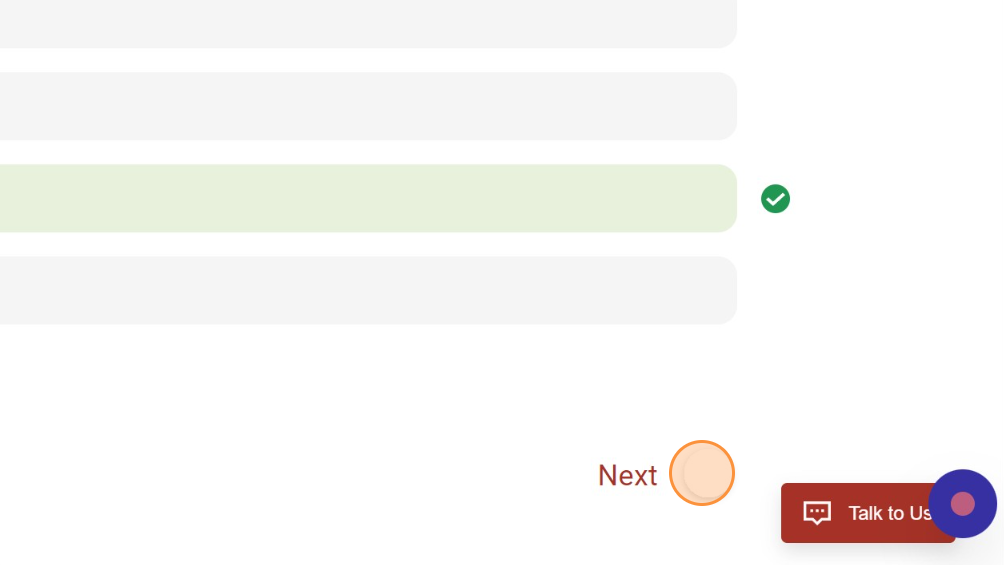
Click the arrow icon next to "Next" to access the next quiz question. The next quiz question can also be accessed by pressing the question number under the quiz title.
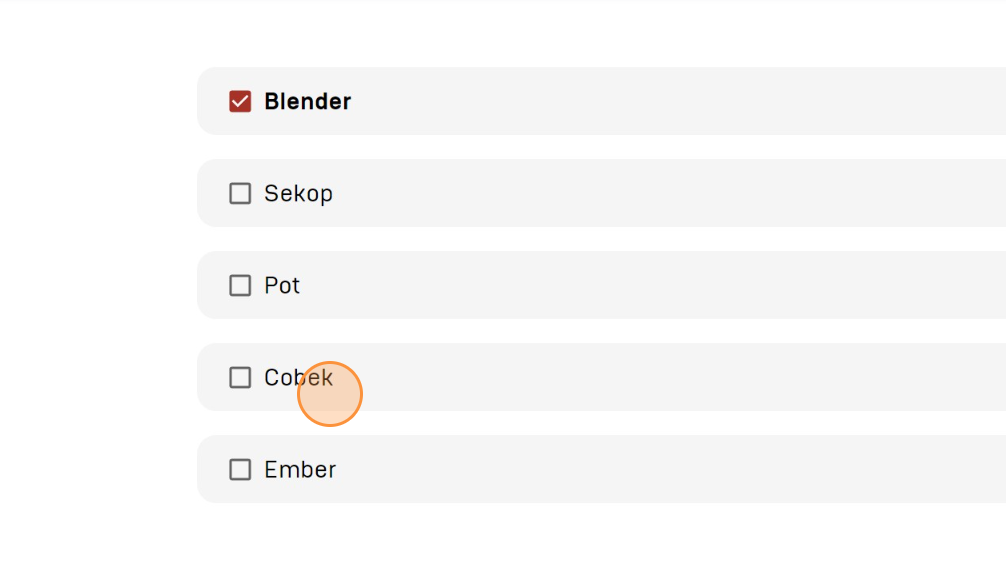
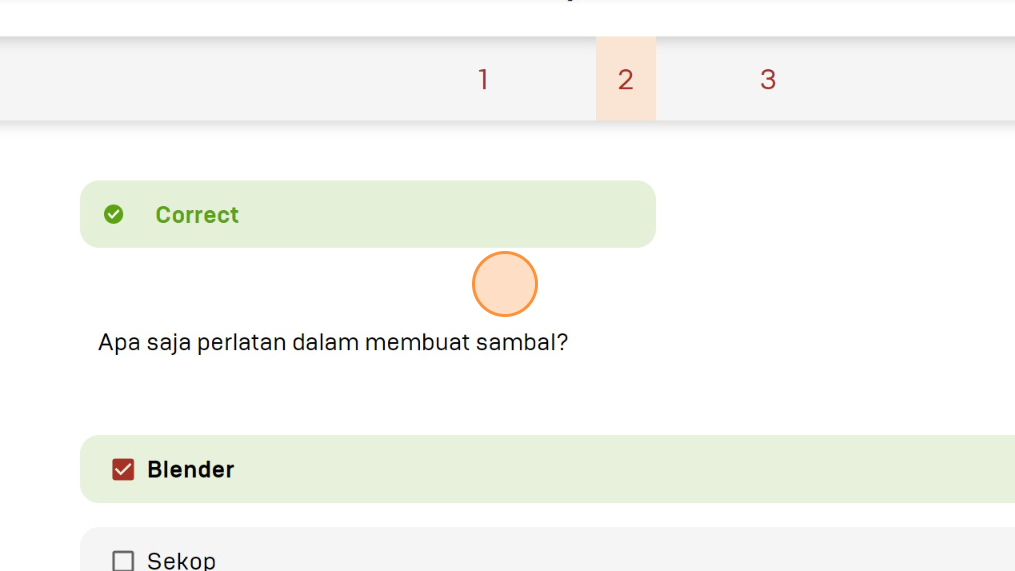
Filling in a square answer means that the question you are working on is multiple choices.
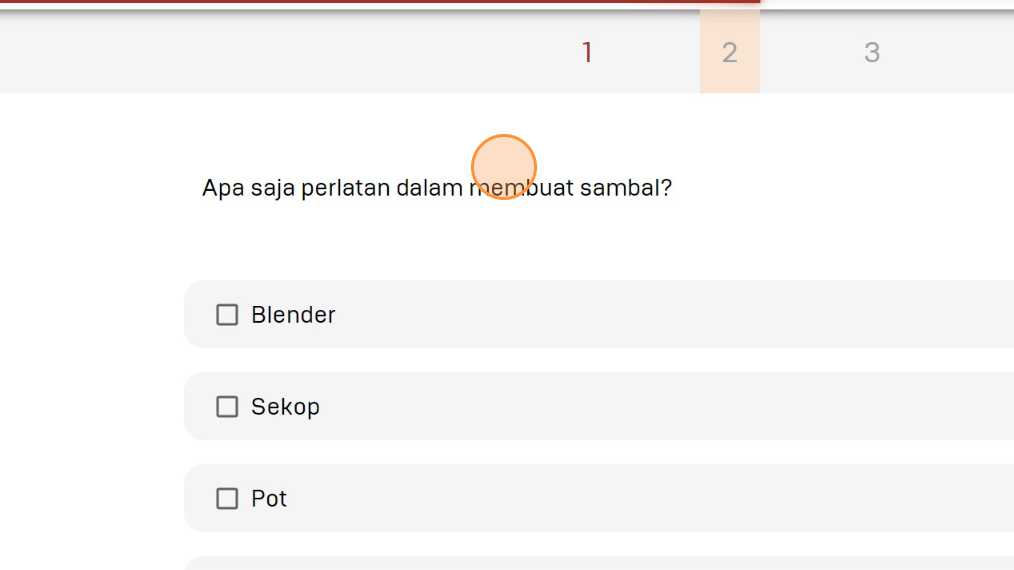
Click one or more answer choices to lock the answer (the box will fill in red).
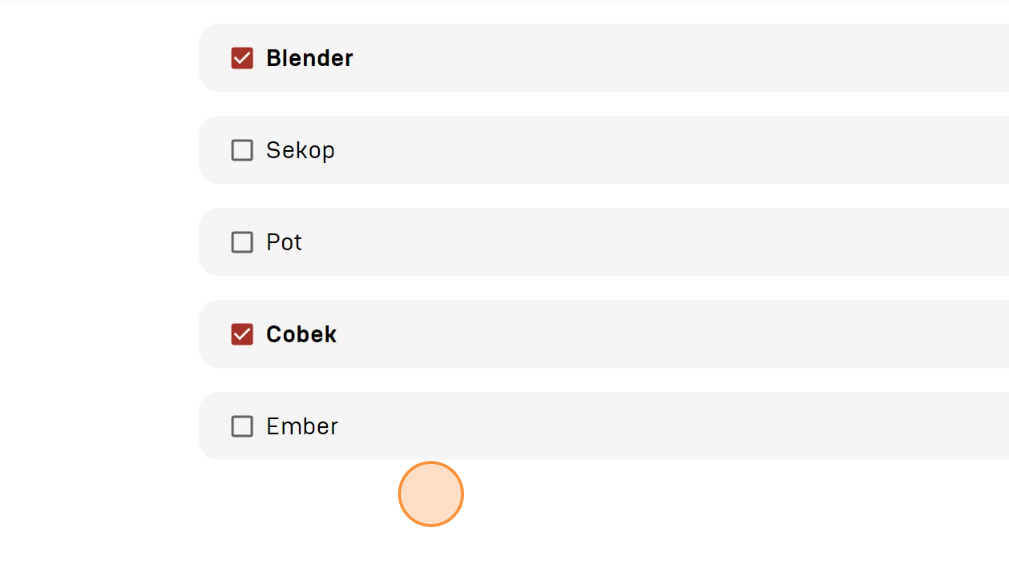
Click the arrow icon next to "Next" to access the next quiz question. The next quiz question can also be accessed by pressing the question number under the quiz title.
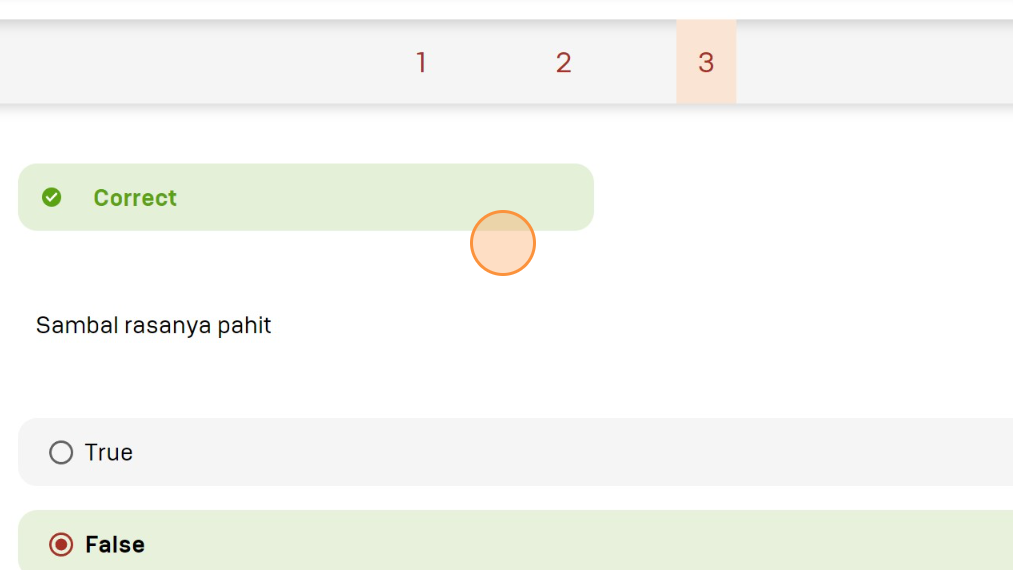
Entering a true or false answer means that the question being answered is true/false.
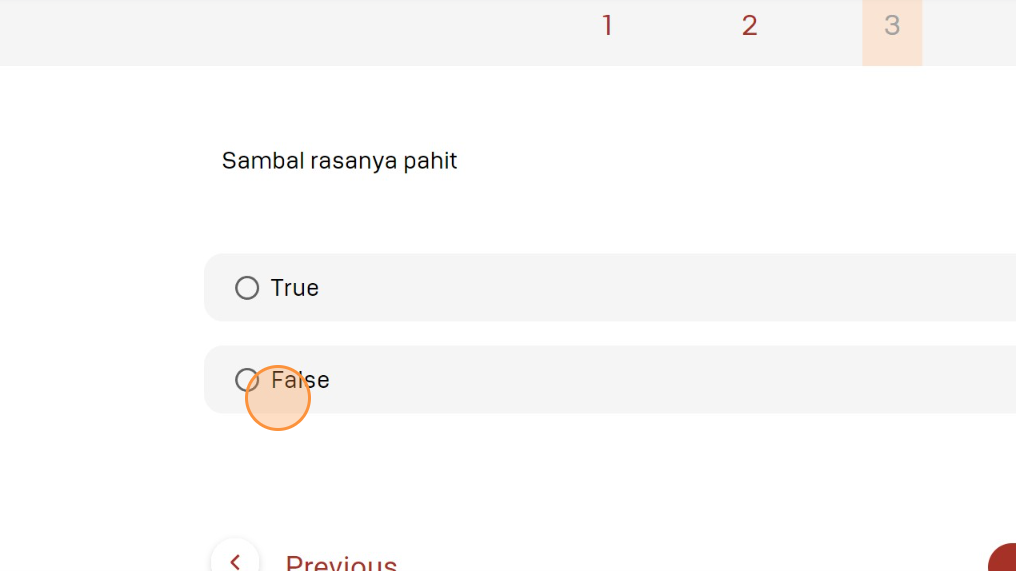
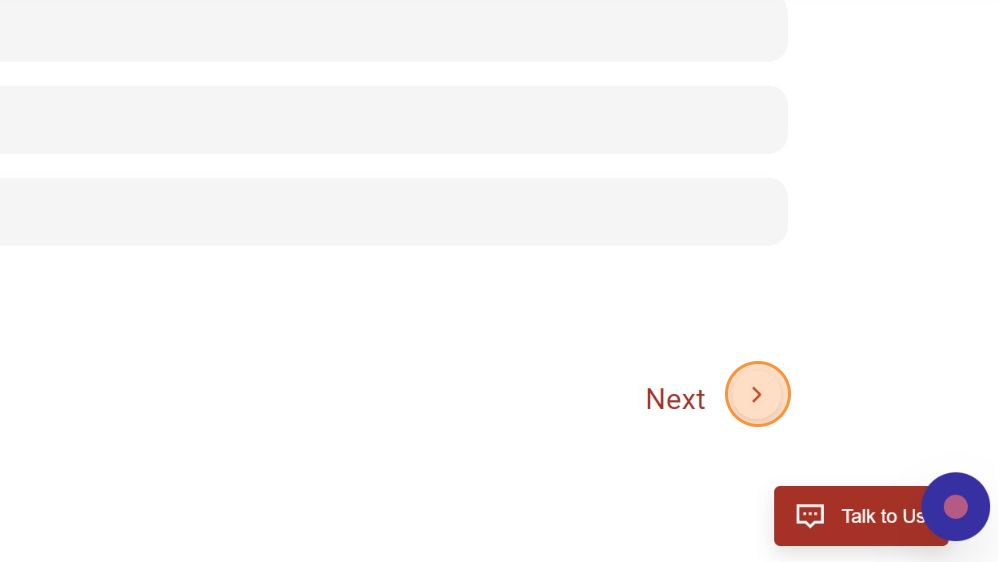
Click on one of the answer choices to lock the answer (the circle will fill in red).
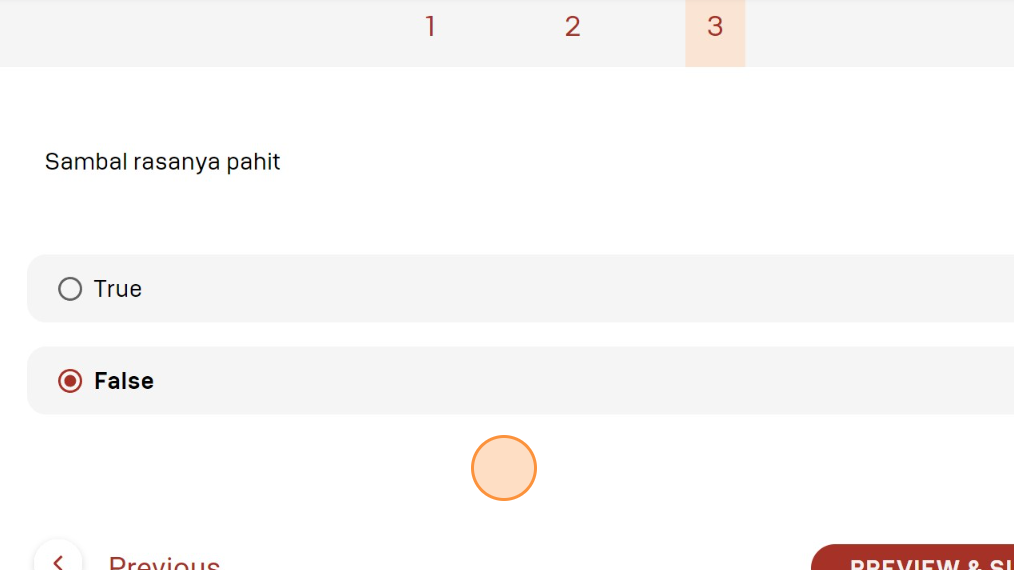
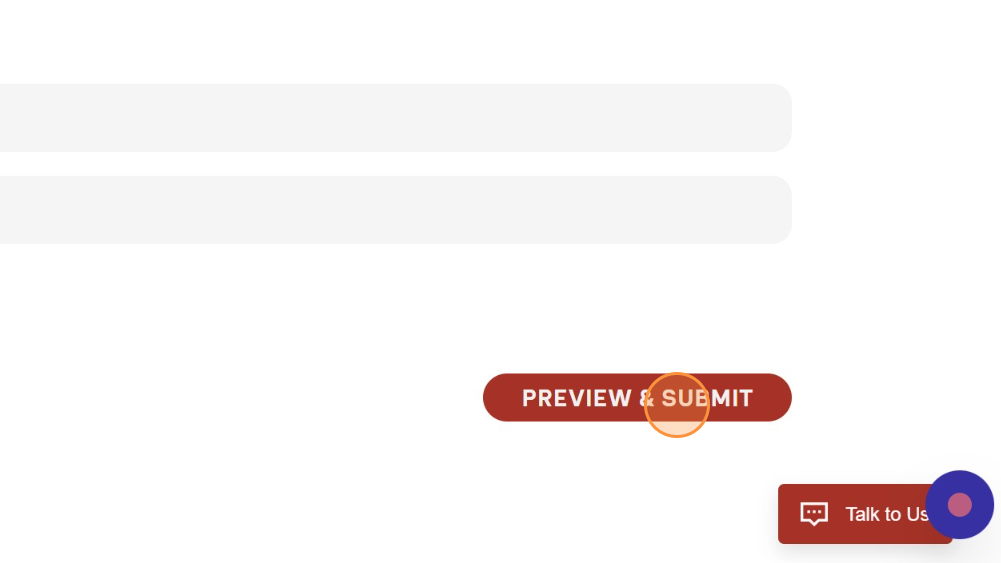
After all quizzes have been completed, click "PREVIEW & SUBMIT" to review the answers that have been filled in before sending them.
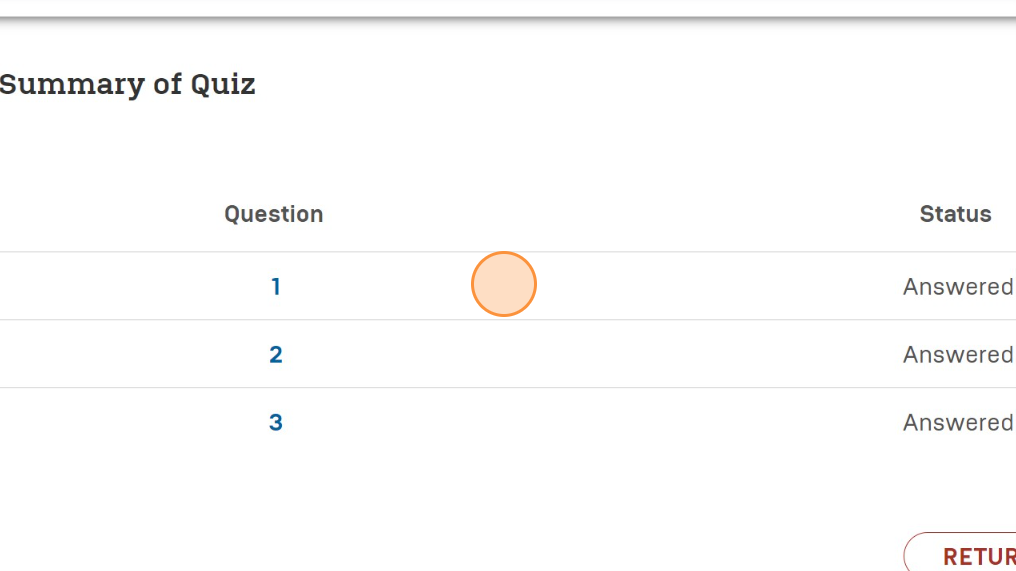
The quiz preview page will show the number of questions and progress status.
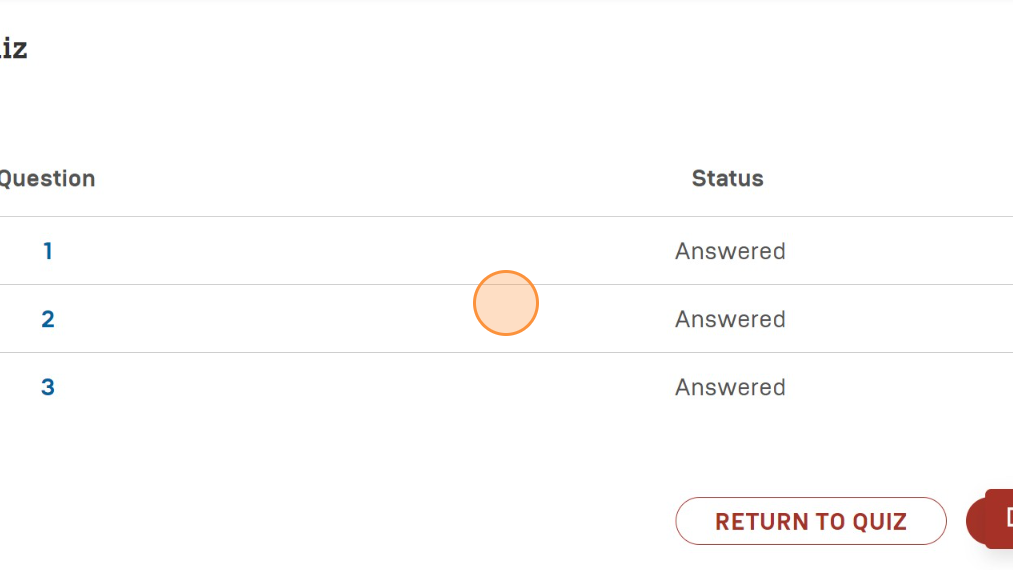
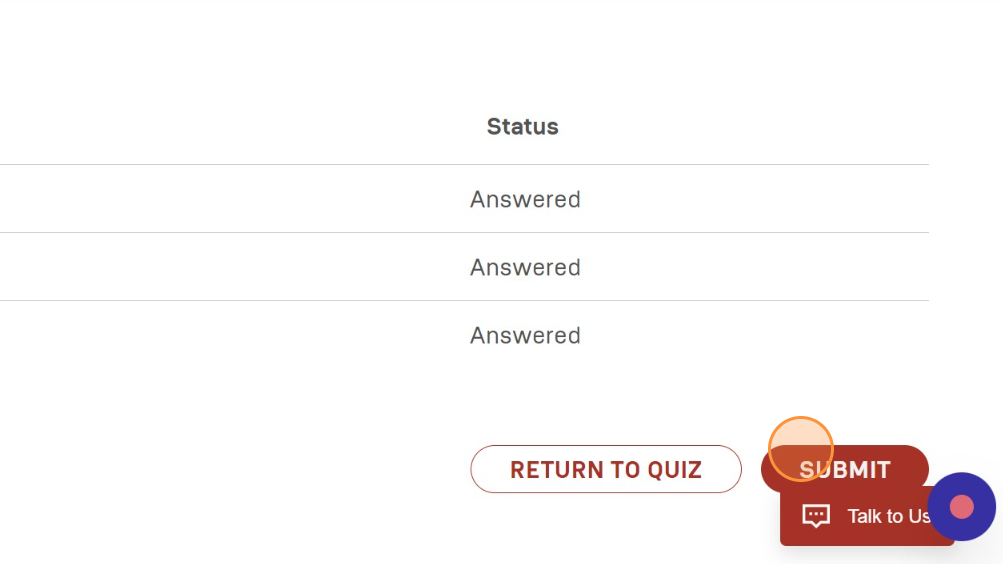
Click "RETURN TO QUIZ" to return to the quiz and click "SUBMIT" to send answers.
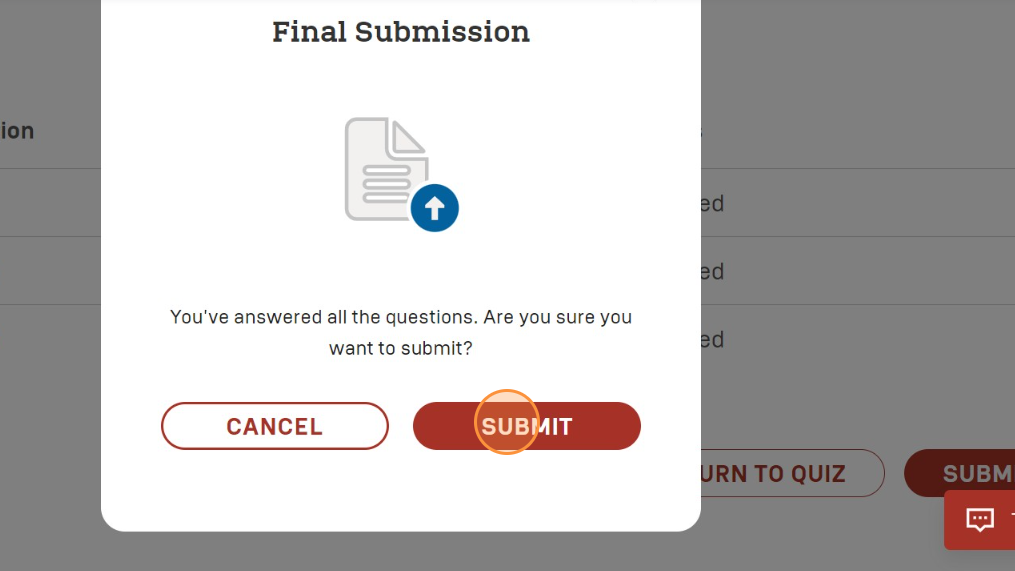
After clicking "SUBMIT", a final submission pop-up will appear warning whether the answer submission has been confirmed. Click "SUBMIT" to submit your answer.
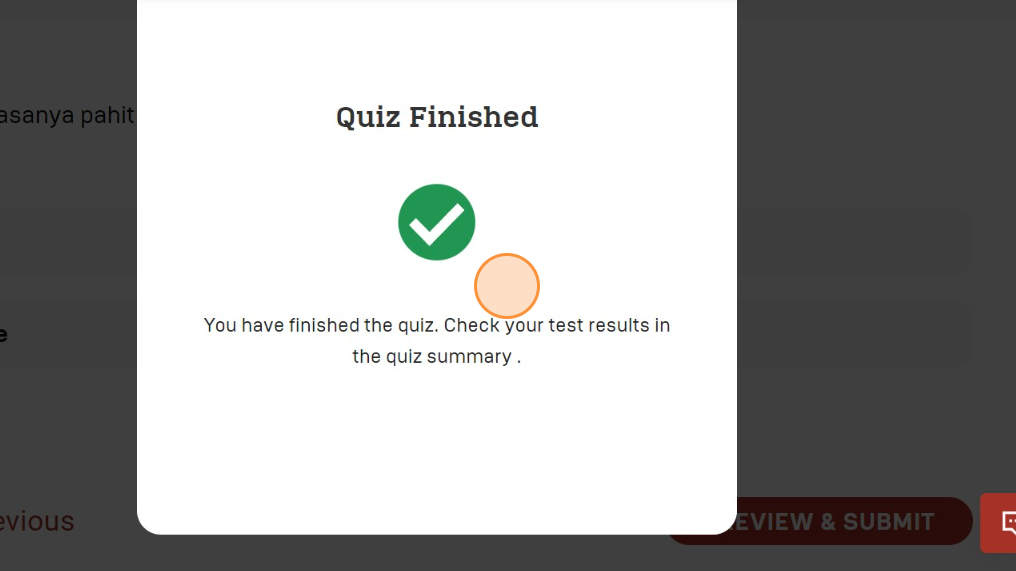
After clicking "SUBMIT", a quiz finished pop-up will appear explaining that all the quizzes have been completed and the quiz results can be checked.
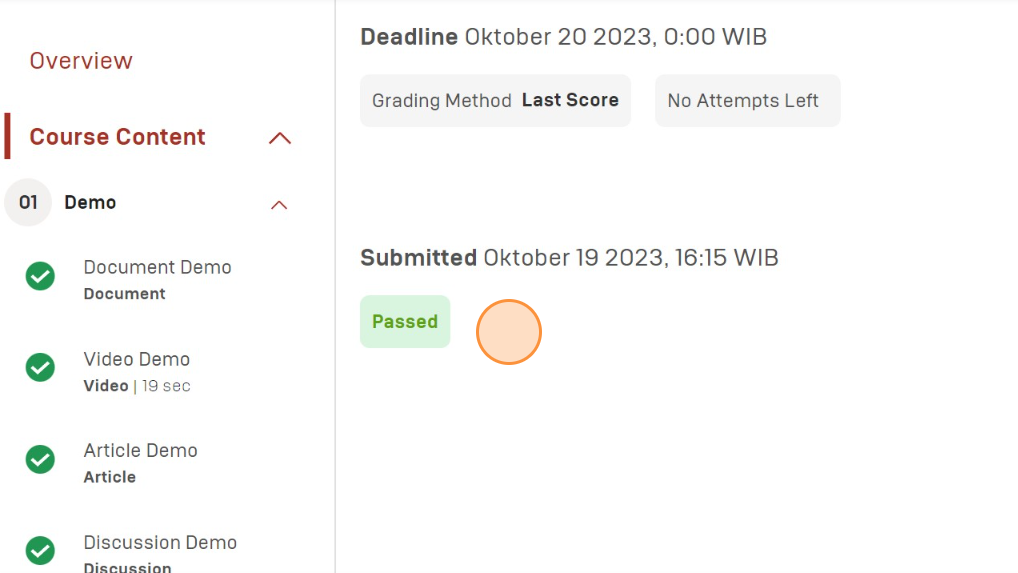
After completing the quiz, the quiz subcontent page will show the progress status. The status "Passed" means passing and the score obtained has exceeded the minimum score.
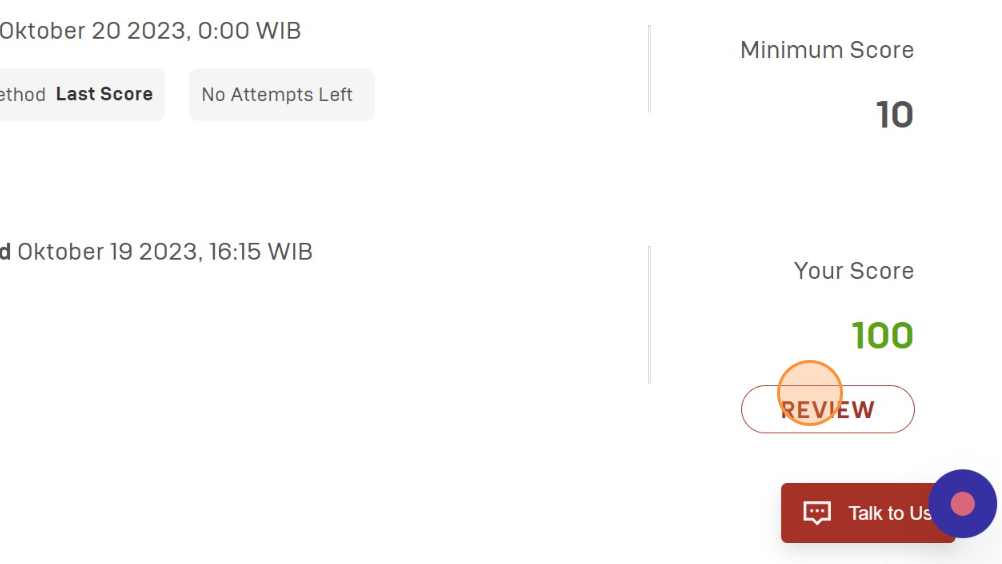
The score obtained can be seen under "Your Score".
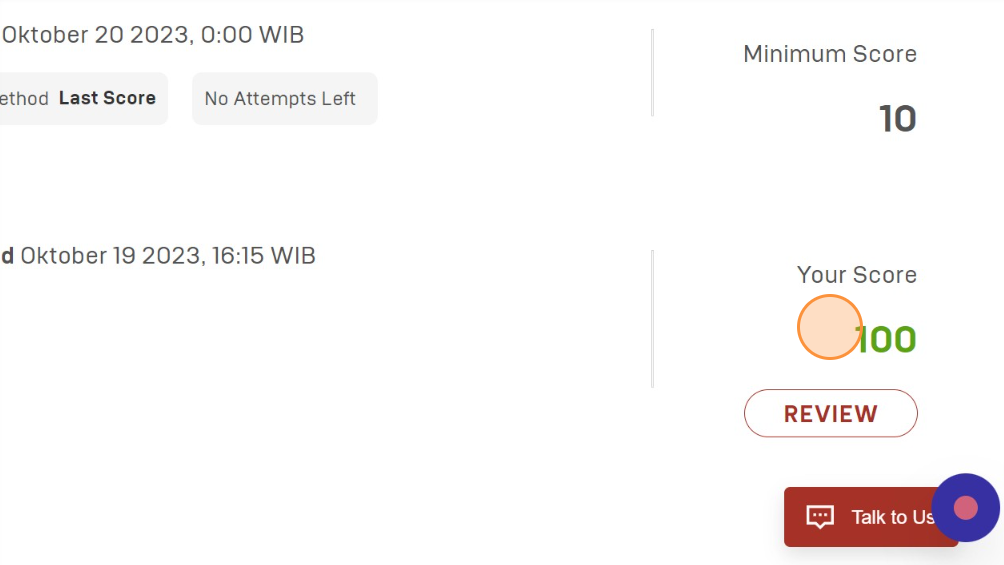
Click "Review" to see previously completed quizzes.
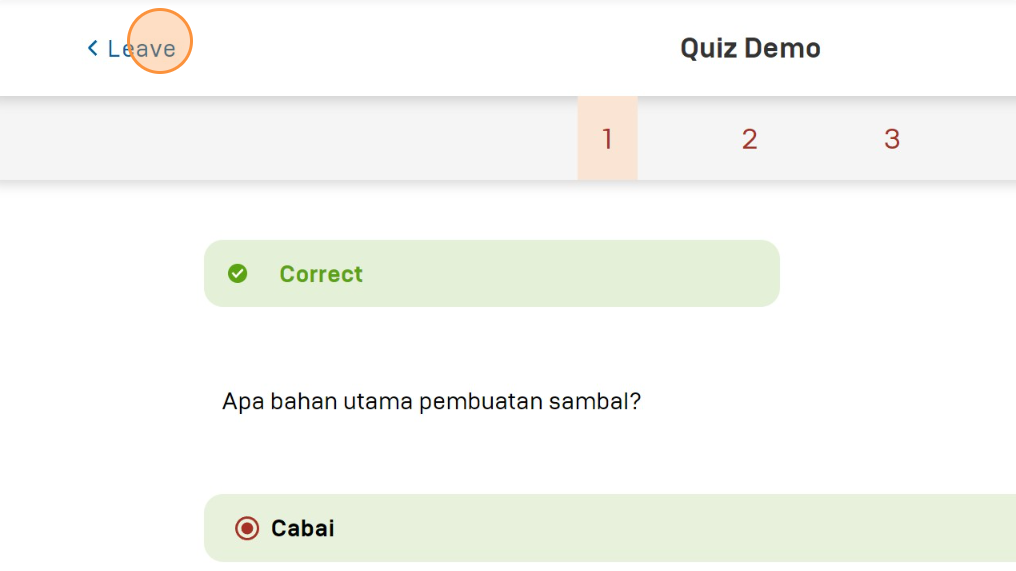
The completed quiz page will show the status of each completed question. The "Correct" status at the top of the page means the answer is correct. The answer option highlighted in green represents the right answer.
After checking all the quizzes that have been taken, click "Leave" to leave the quiz page.
Understanding the Course (Course Content)
When all the subcontent of the first-course content are complete, close the first course content and start continuing the second course content.
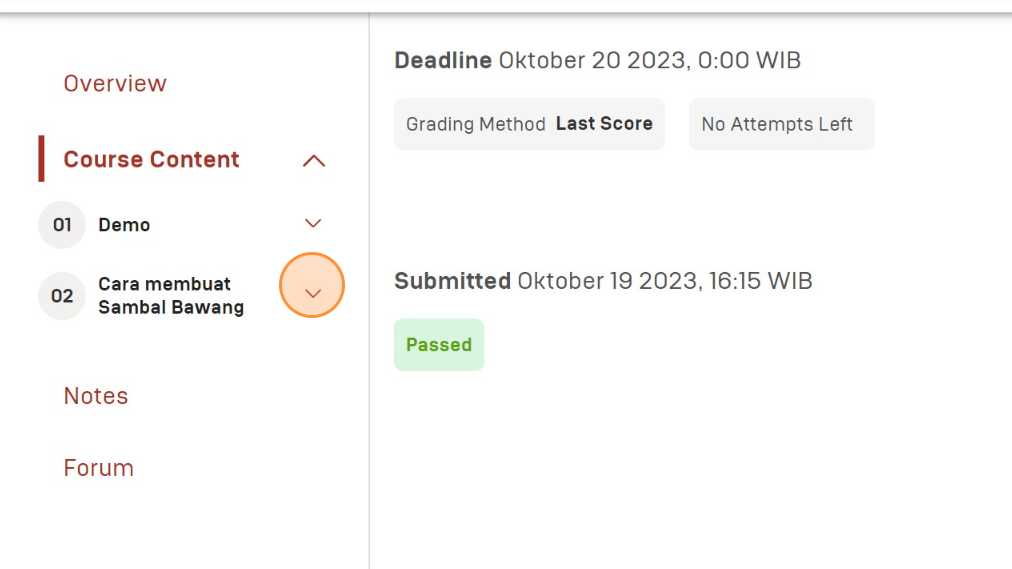
Ensure all subcontent of the first course content have been completed because the course can be set as access learning sequentially, that is, locking access to the next content before completing the current content.
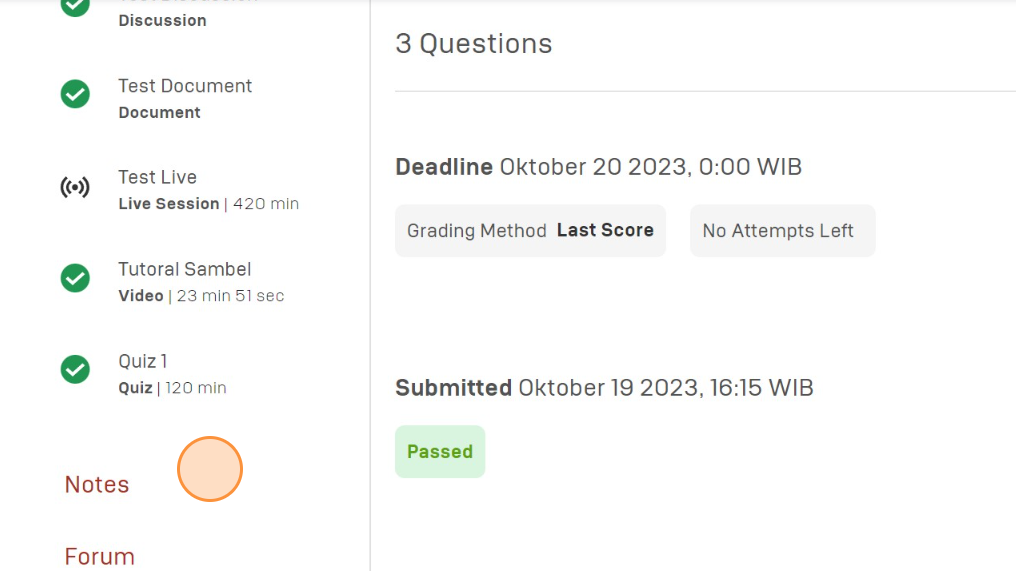
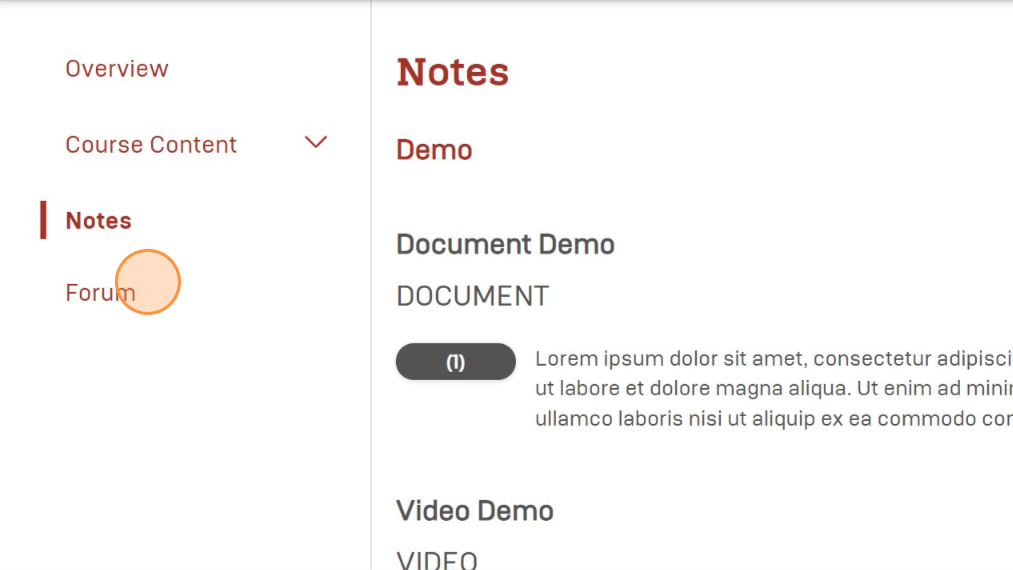
Understanding the Course (Notes)
Click "Notes" to view notes written during course study.
The "Notes" page will show notes taken throughout the course based on its course content, subcontent, and the minute/page that notes were written.
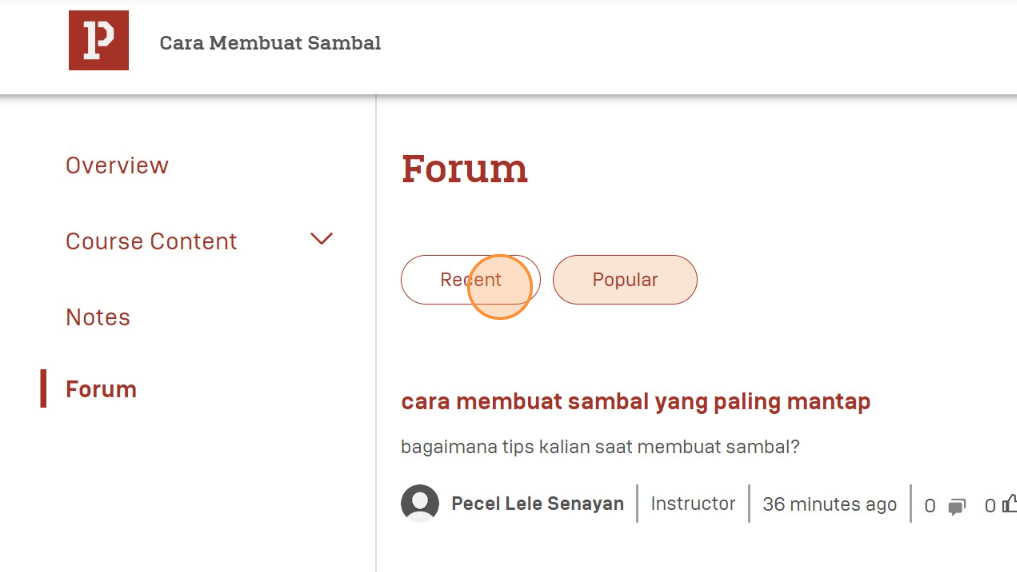
Understanding the Course (Forum)
Click "Forum" to access the forum page of the course you are taking.
The "Forum" page will be divided into recent forums and popular forums.
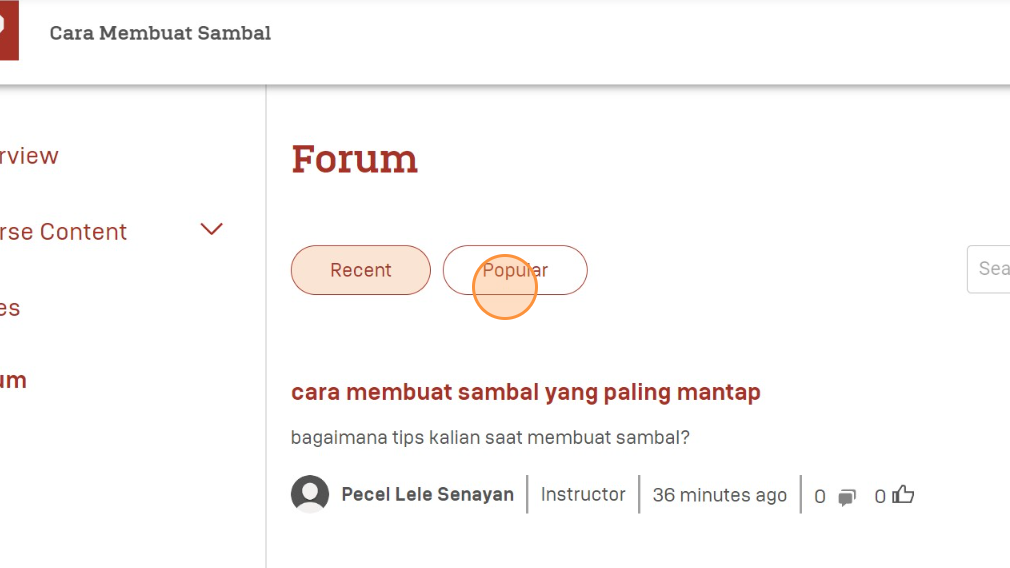
Click "Recent" or "Popular" to access one of them.
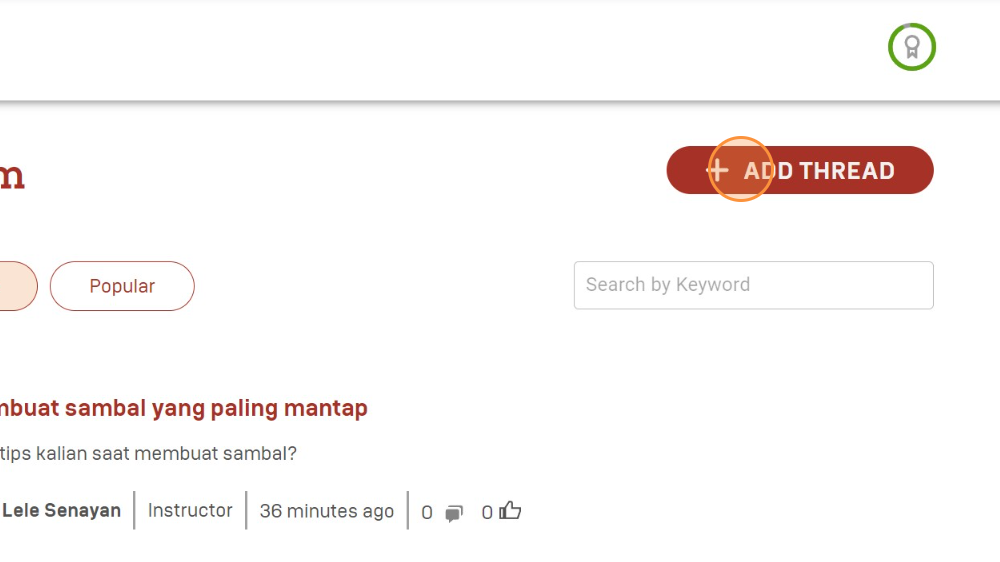
Click "+ ADD THREAD" to add discussion to the forum.
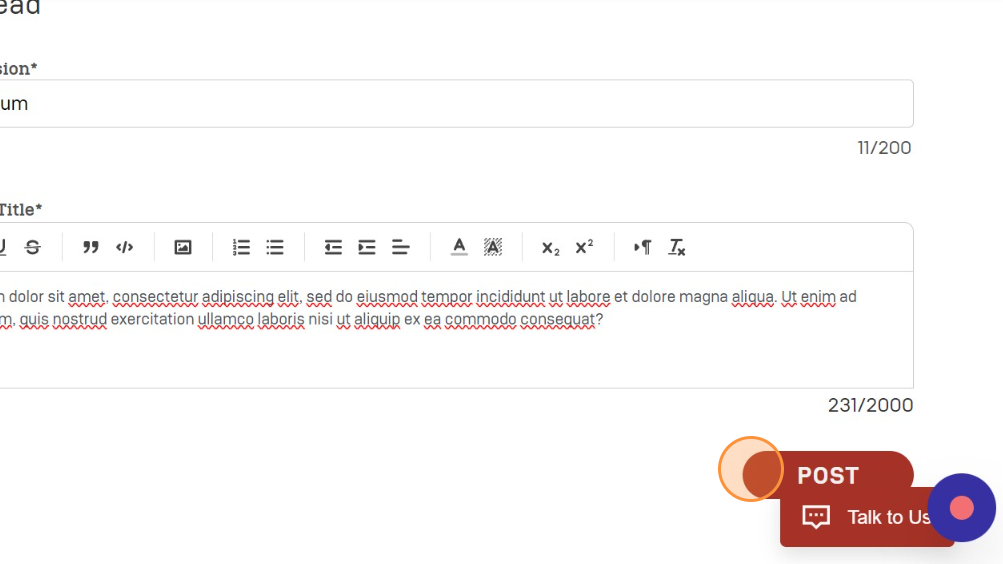
Type the discussion title in "Discussion Title".

Type the contents of the discussion in the "Description Title".
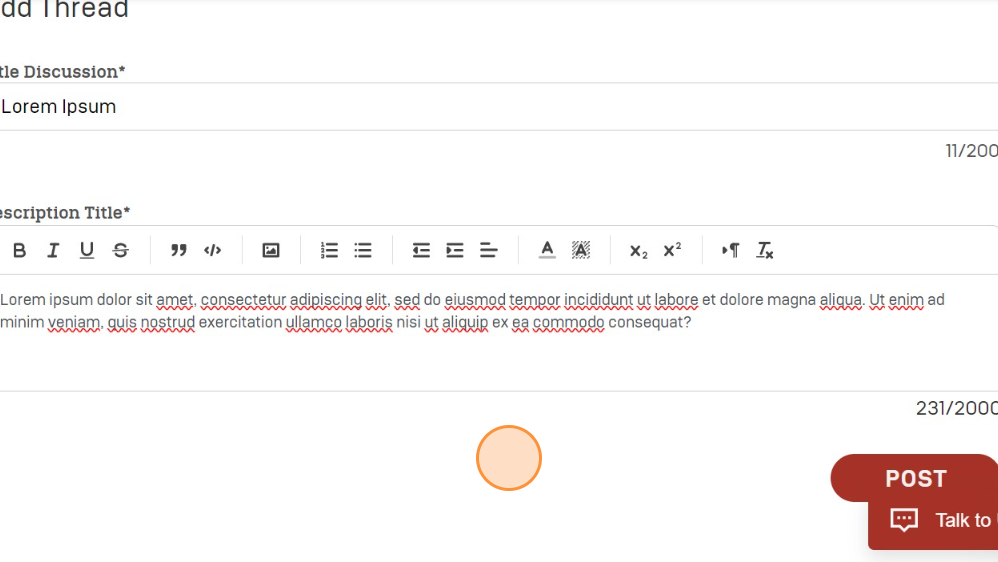
If the discussion you want to submit to the forum is satisfactory, click "POST".
When the discussion is successfully published, the notification "Thread successfully added" will appear. Click the like icon to like the discussion. Click the chat icon to add a comment.

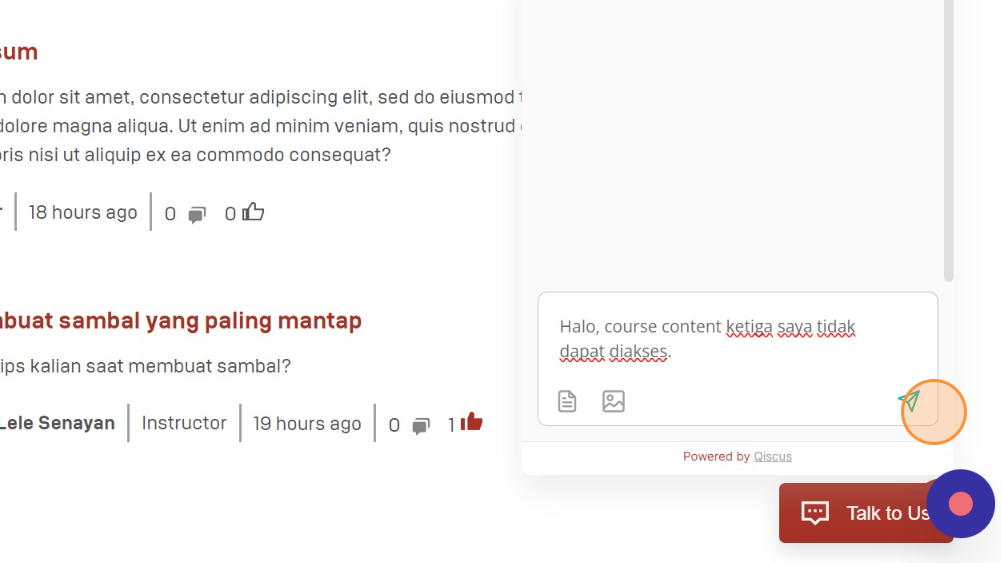
Contacting Helpline
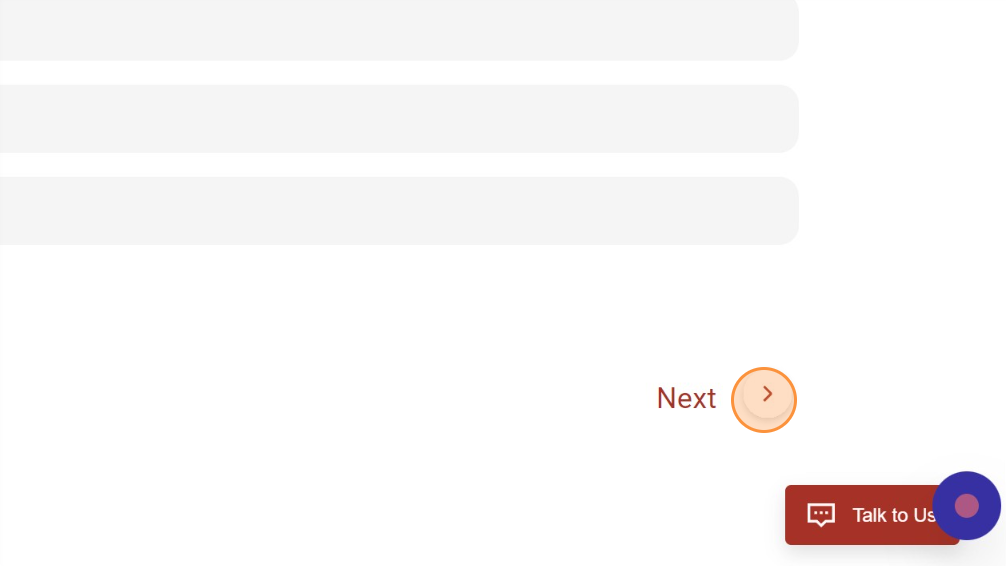
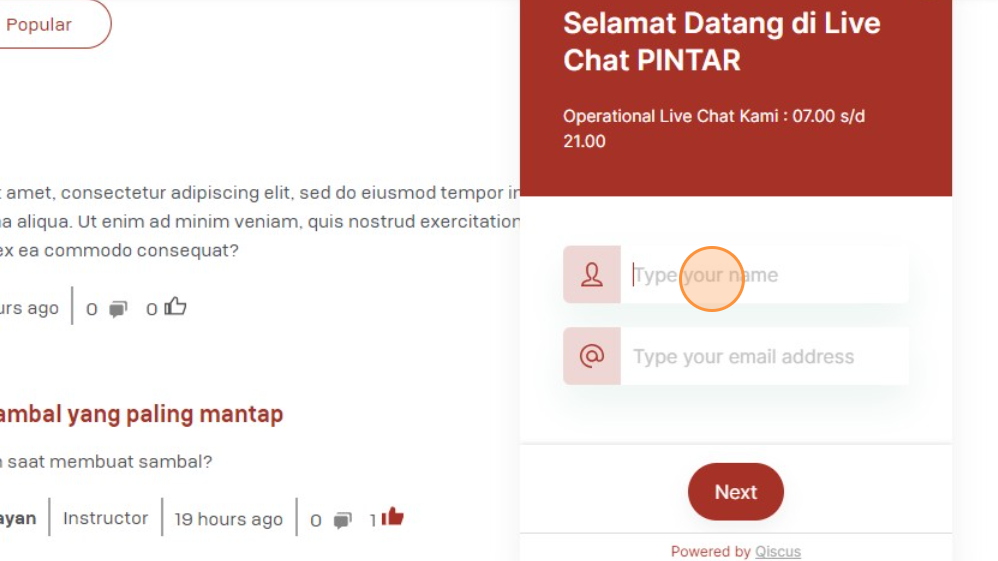
Click "Talk to Us" to contact customer service if you experience problems accessing the course.

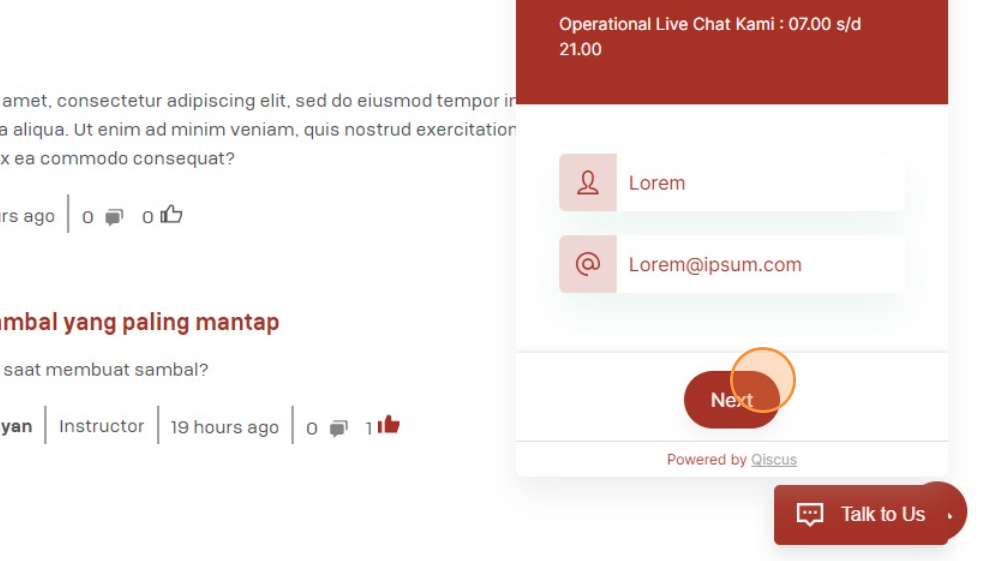
Enter your name and email to access the service.
After filling in, click "Next" to connect with the Live Chat admin.
Type the problem you are experiencing in the column provided.
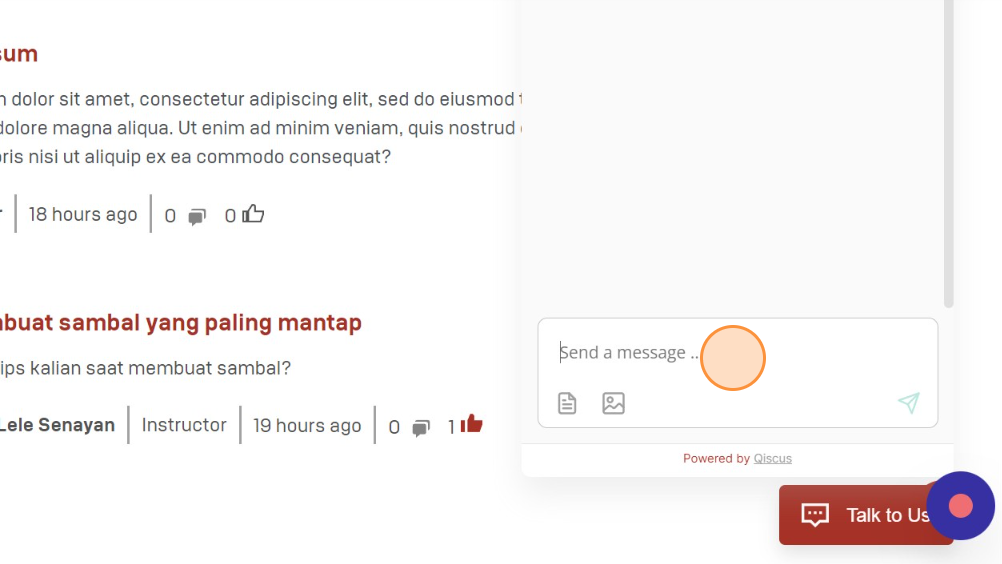
When the problem has been typed, click the airplane icon to send it and start interacting with the service.